Soldering as a step towards technology in education
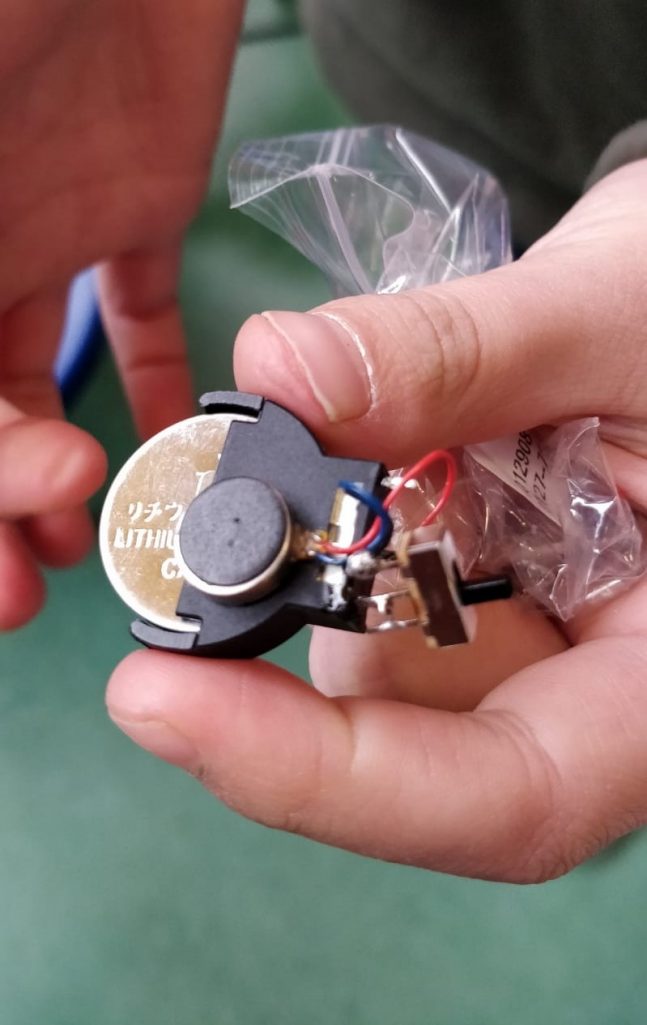
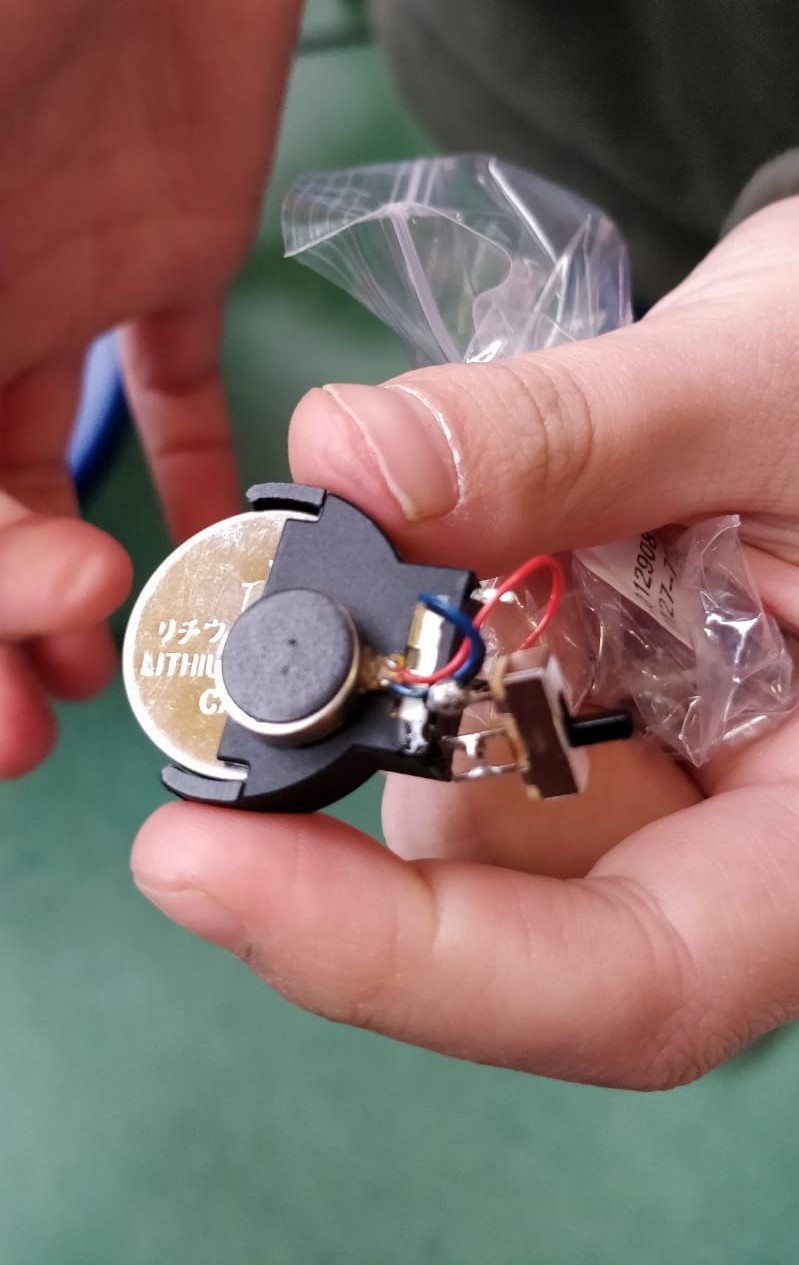
“In many schools, there’s not much room to really fiddle around. You build your own vibrating robot with our soldering exercise to experience that you can easily do this in class. The new flyer explains the steps”.
(check the text after the video)
Indeed, instead of the traditional lessons we sometimes prefer to fiddle around for a while. This way it helps to tinker with some nice dots of theory – which the student becomes interested in. But more importantly, it stimulates interest in technique, design and research.
As a teacher, you can get started with this in class. You don’t need a technical background, materials are affordable and everything is easy to store. Let the students create, research and experience for themselves – technical details are too boring now, they will only learn that later 🙂
Below you can read the flow and didactics in the longer story. I will describe some didactic ‘dances’ to inspire your students – and through this flow, you can respond to questions before they are asked. At several moments you can see how the students get involved, and their passion and energy make me enjoy this subject!
The short version of this instruction can be found on the back of our flyers. The first one was distributed to the teachers at the NOT. You can download the latest flyer here.
No prior knowledge, but continuing with technology
There is no need for prior knowledge, and the exercise is also fun for students who already think they know parts of the technique. This exercise is not age-related. I work with groups of pupils from 6 to 8 years old, up to 77 years old.
In my more challenging projects, I often start with this exercise and then quickly continue with the Arduino, programming and 3D design projects.
Lesson plan (short version from the flyer)
With this concise overview, you can easily create your own mini-robot. The detailed explanation can be found at: juunioriot.nl/soldering practice/
Learning objectives
- Basic ICT skills
- Information skills
- Critical and creative thinking
- Solving a problem and working together
Means (see order list below)
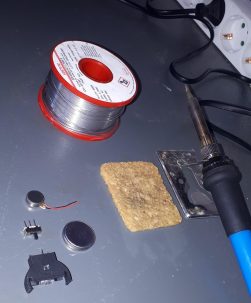
- Safe soldering iron with soldering tin
- A solder sponge that you have already wetted
- Safty support to rest your soldering iron on
- Fireproof mat to protect your work surface
Materials (see order list below)
- 3-volt button cell battery CR2032 (remove it when you are not using the robot)
- battery holder BS-05 for CR2032 (soldering on a battery is not smart)
- 2x standard LED 3 mm (colored LED’s are really cool)
- 3-volt external vibrating motor (this is also in your mobile phone)
- small slide switch (this is already for advanced users)
- RGB LED with three switches (for when you need an extra challenge)
Work preparation
- Start with a tidy work surface and store your belongings again after the exercise.
- Protect your work surface against scorch marks, i.e. work on the fireproof mat
- A soldering iron is not a toy, handle it responsibly and safely.
- 3 volts current is not dangerous, you don’t feel a thing.
Investigations
- A battery has a + pole and a – pole. Where are these?
- With an LED, the current only flows in one direction. Will you slide it onto the battery?
- You fold the wires of the vibrator like a heart, put the battery between the glimpses?
- Put the battery into the battery holder. With the LED you can see with which valve the three legs make you light?
Soldering exercise
- Stick the external vibrating motor onto the battery holder and bend the first wire against the leg.
- Take the soldering iron and secure the first wire with a little soldering tin.
- Remove the battery from the holder and secure the 2nd wire with a little soldering iron.
Put the battery back into the holder. And? Does your robot vibrate?
First try, then solder
- Find out together how you can slide 2 LEDs onto the battery as eyelets.
- Find out together how to mount the switch so that your robot can be switched on and off.
- An RGB LED gives extra exciting light effects. Find out if you can do this with switches.
Your robot is now ready and can go home with you.
What else do you want to investigate and experience?
Let us know via: [email protected]

(proud student shows her self-made result)

