In this lab, we’re building a robotic arm. The assignment is described at lab: https://junioriot.nl/arduino-joystick-robotarm-challenge/
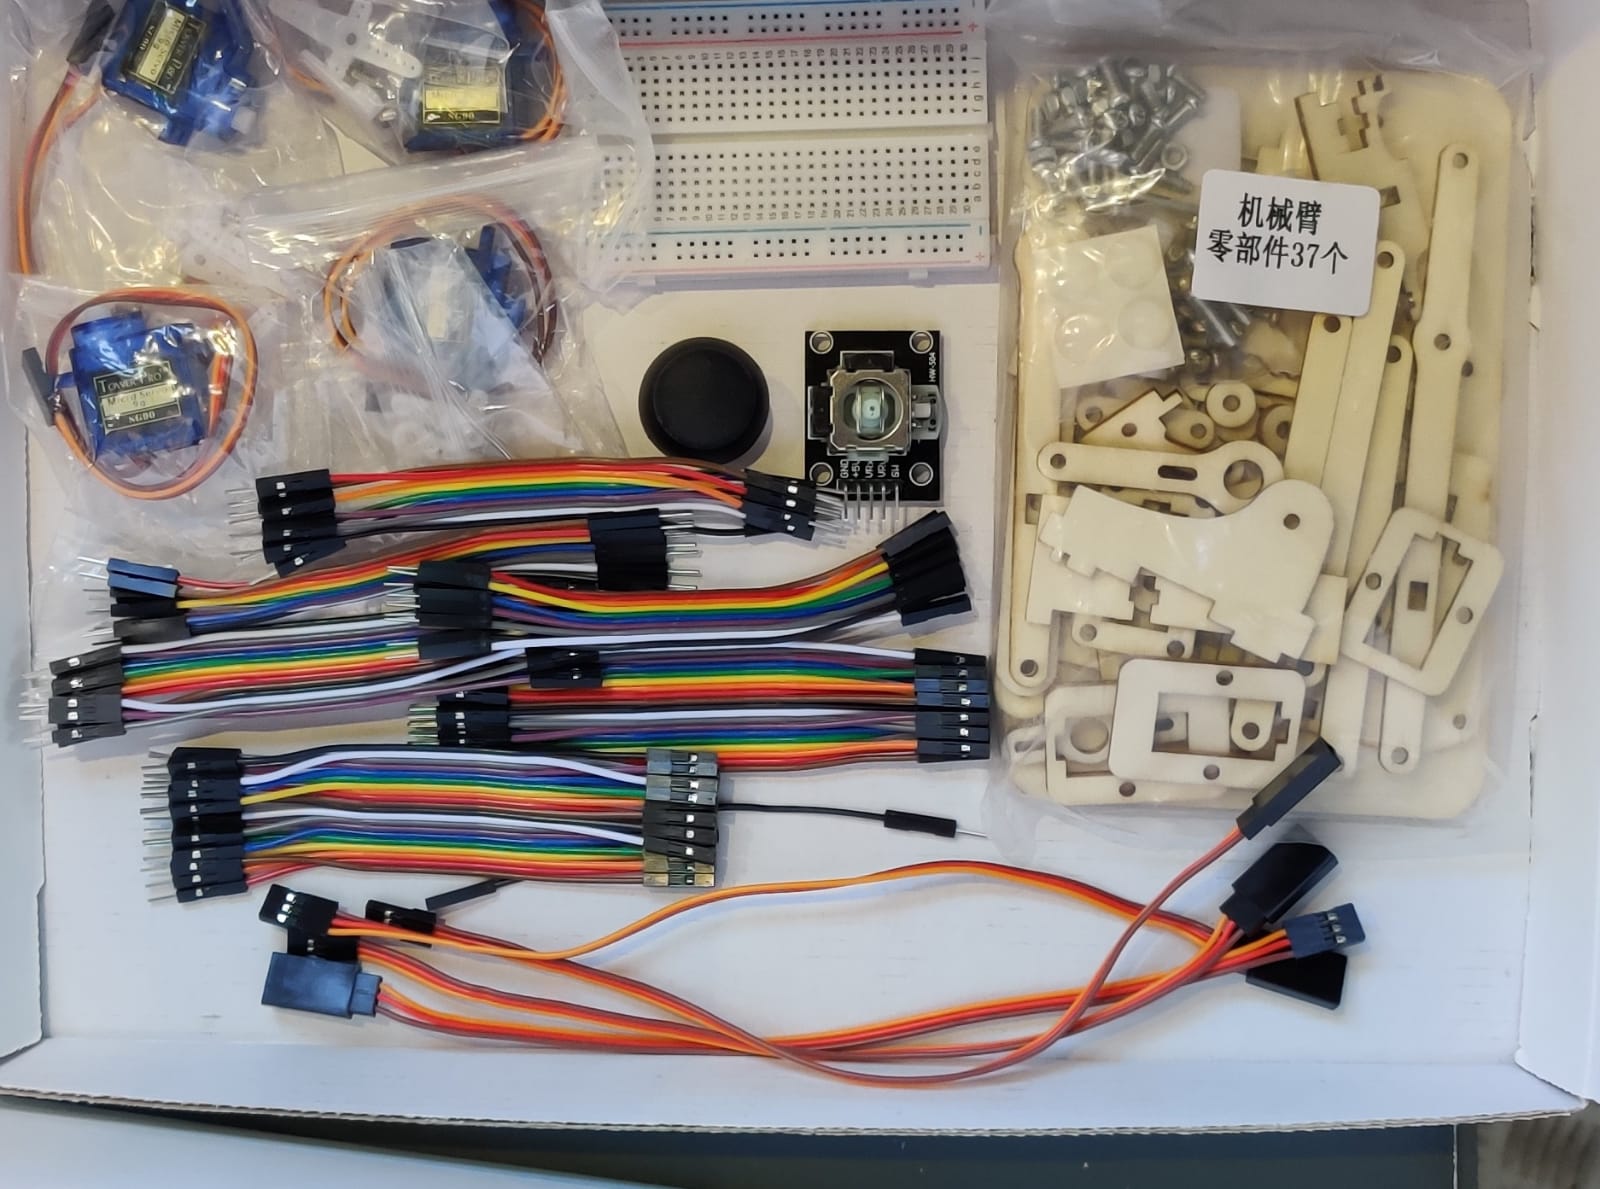
What you gonna need
- A silly robot arm kit
- A rangefinder HC-SR04 (explanation) https://junioriot.nl/ultrasoon-sensor/
- 2 inputs 2 exhausts
- USB cable
- Arduino nano
- Breadboard (explanation) https://junioriot.nl/breadboard/
- Silver pouch with a servo controller
- Jumpstart cables
- Nut x 11
- 6mm x 7
- 8mm x 15
- 10mm x 5
- 12mm x 8
- 20mm x 4
Step 0 – Kalibrating
//Text to be edited
Sort your parts this is important because you could easily find everything. Pay attention sometimes parts look like each other but they are not the same.
Step 1- the first design
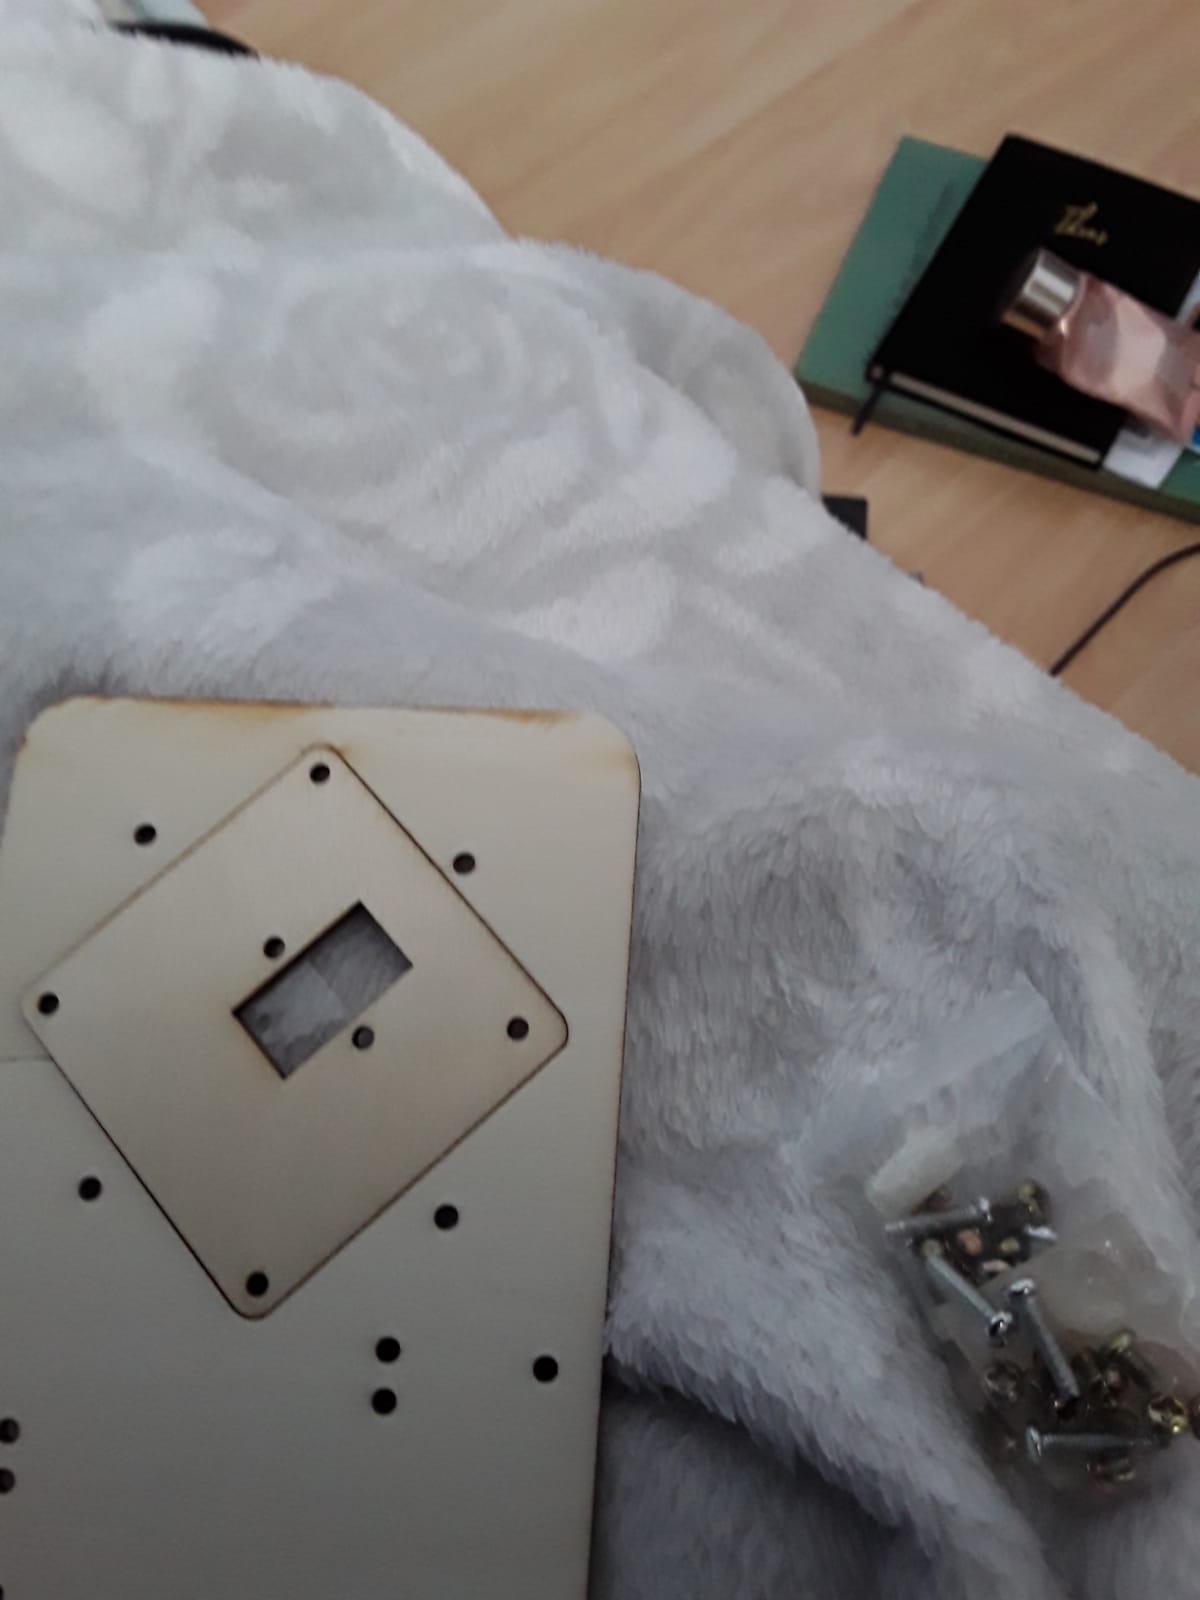
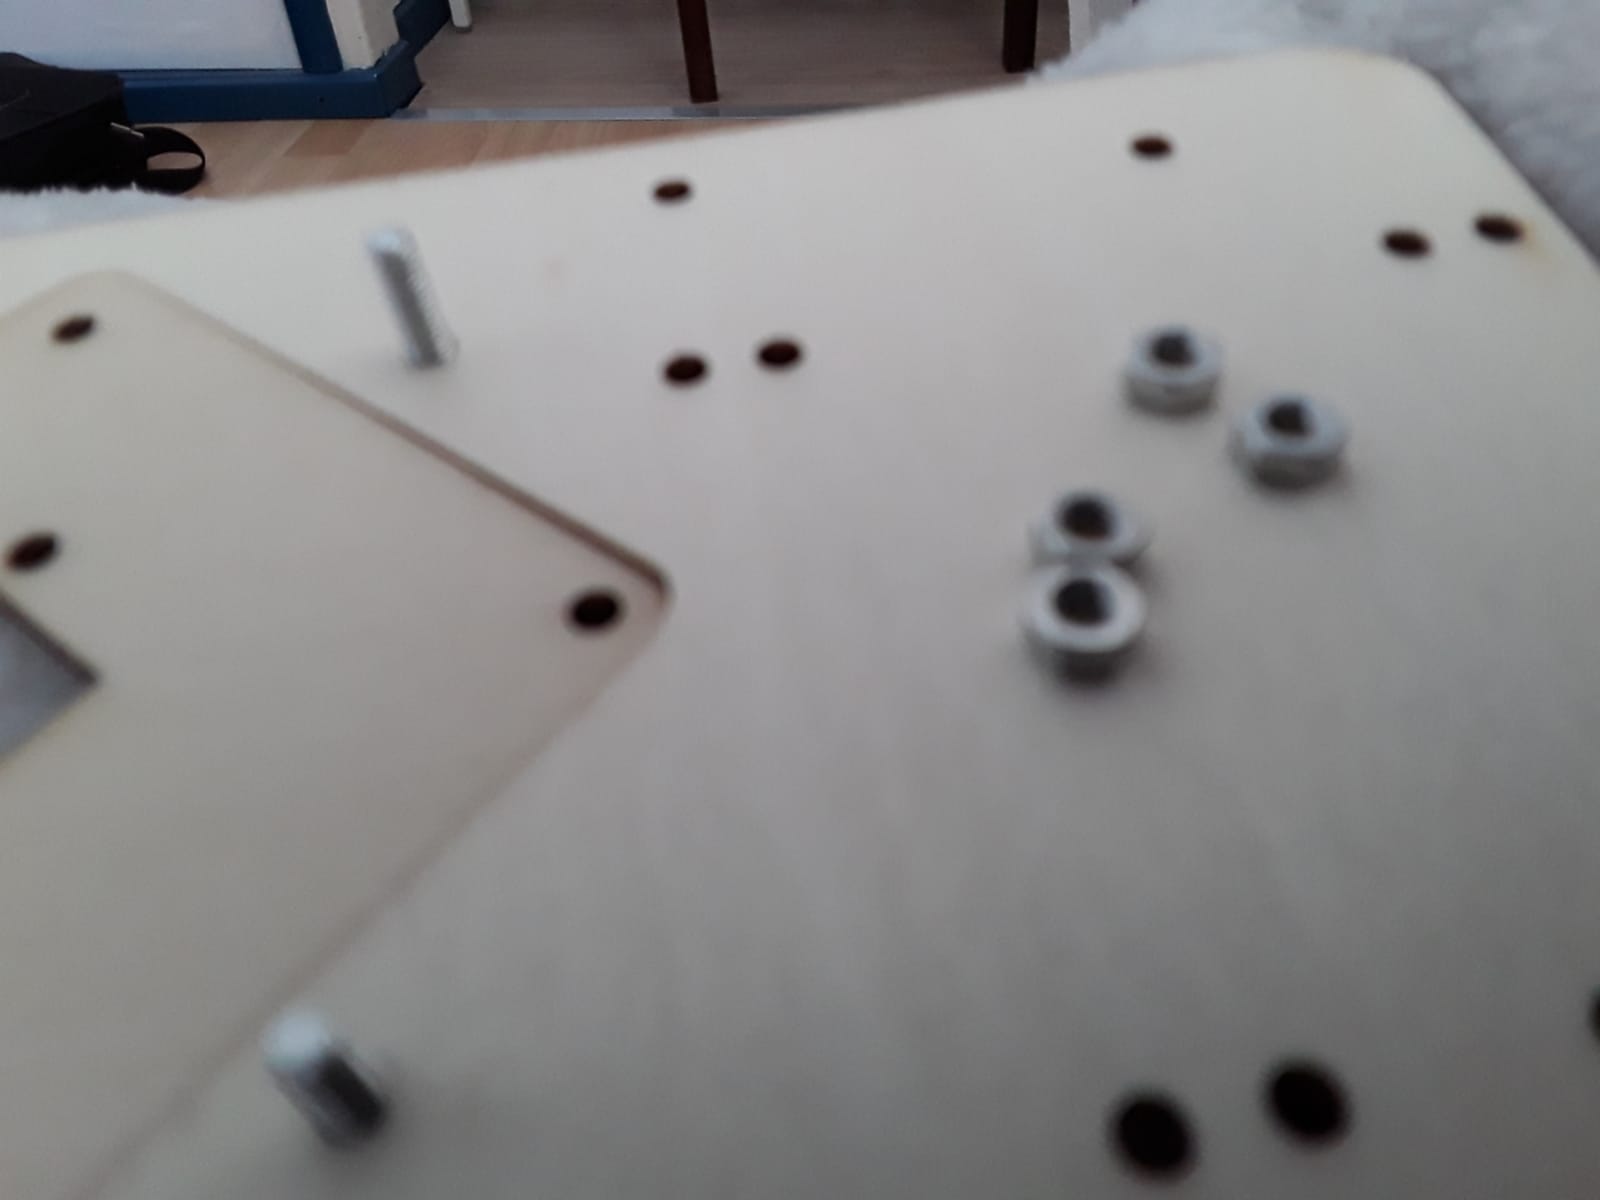
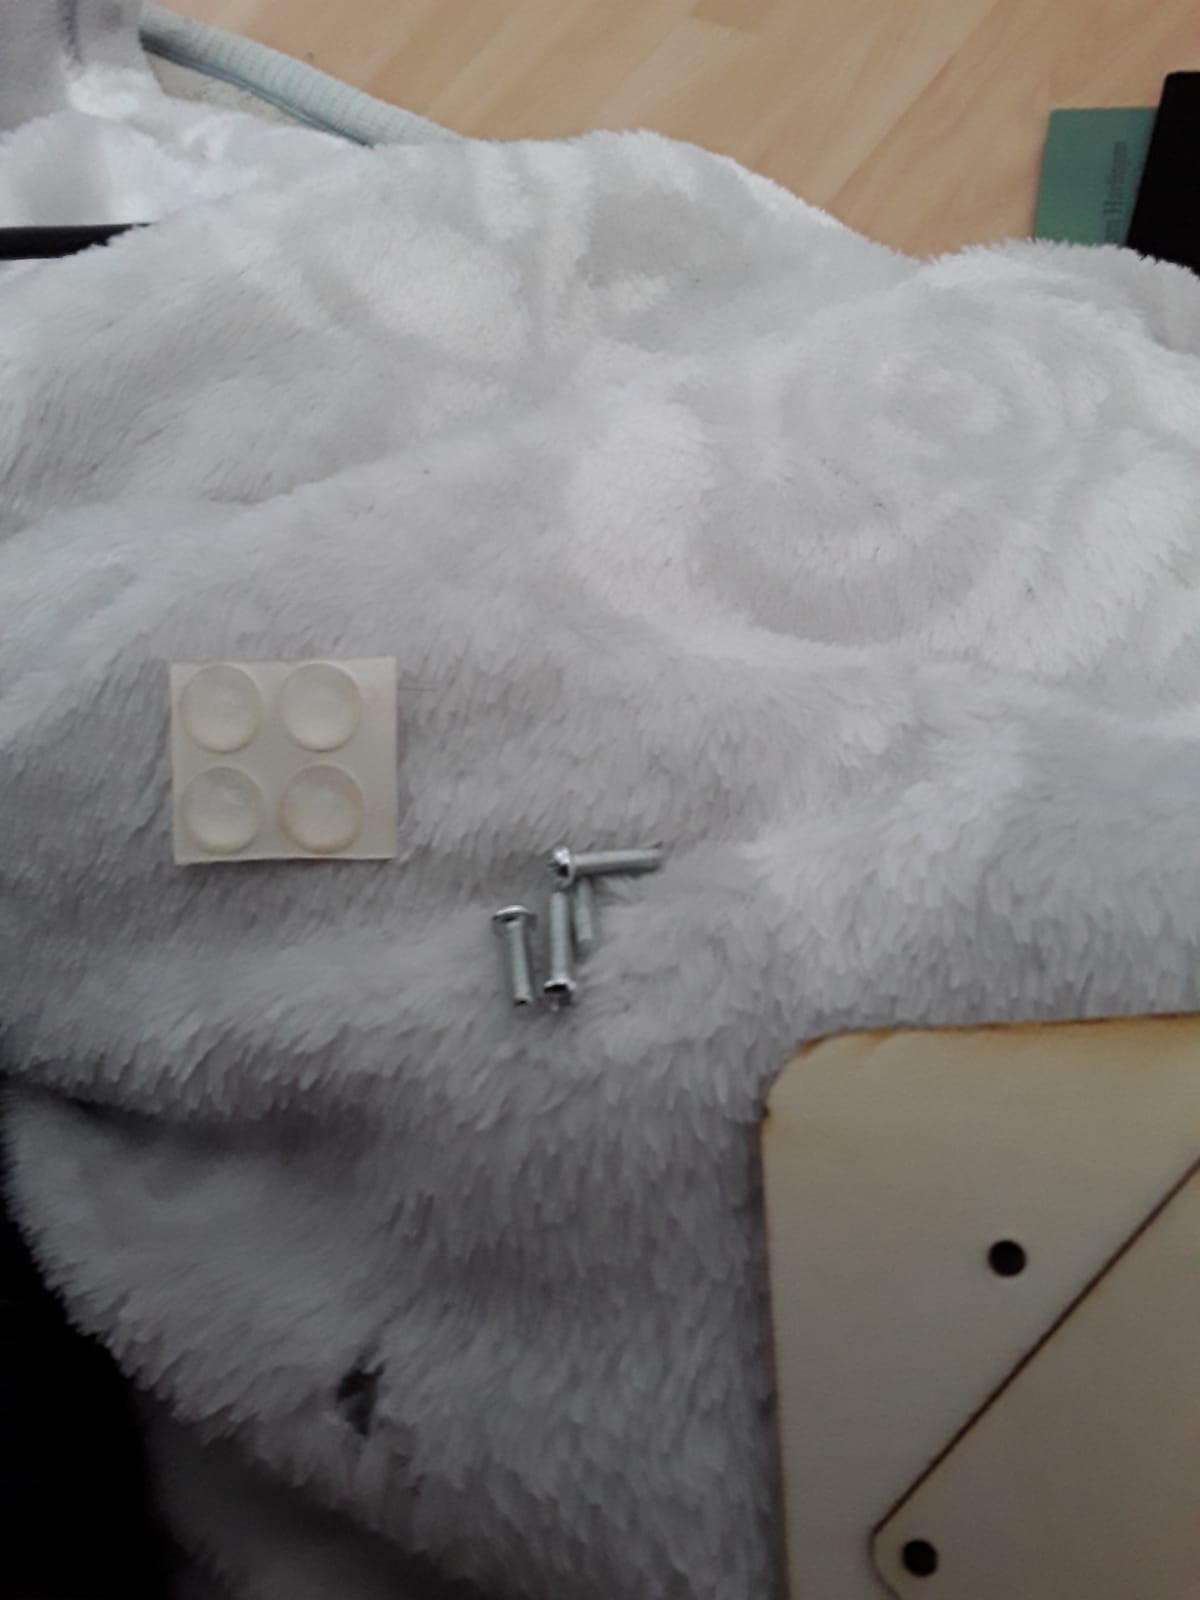
Grab the biggest part. And stick the water droplets underneath on the corners of the plate. These are the legs of the whole thing. So watch where you put them.
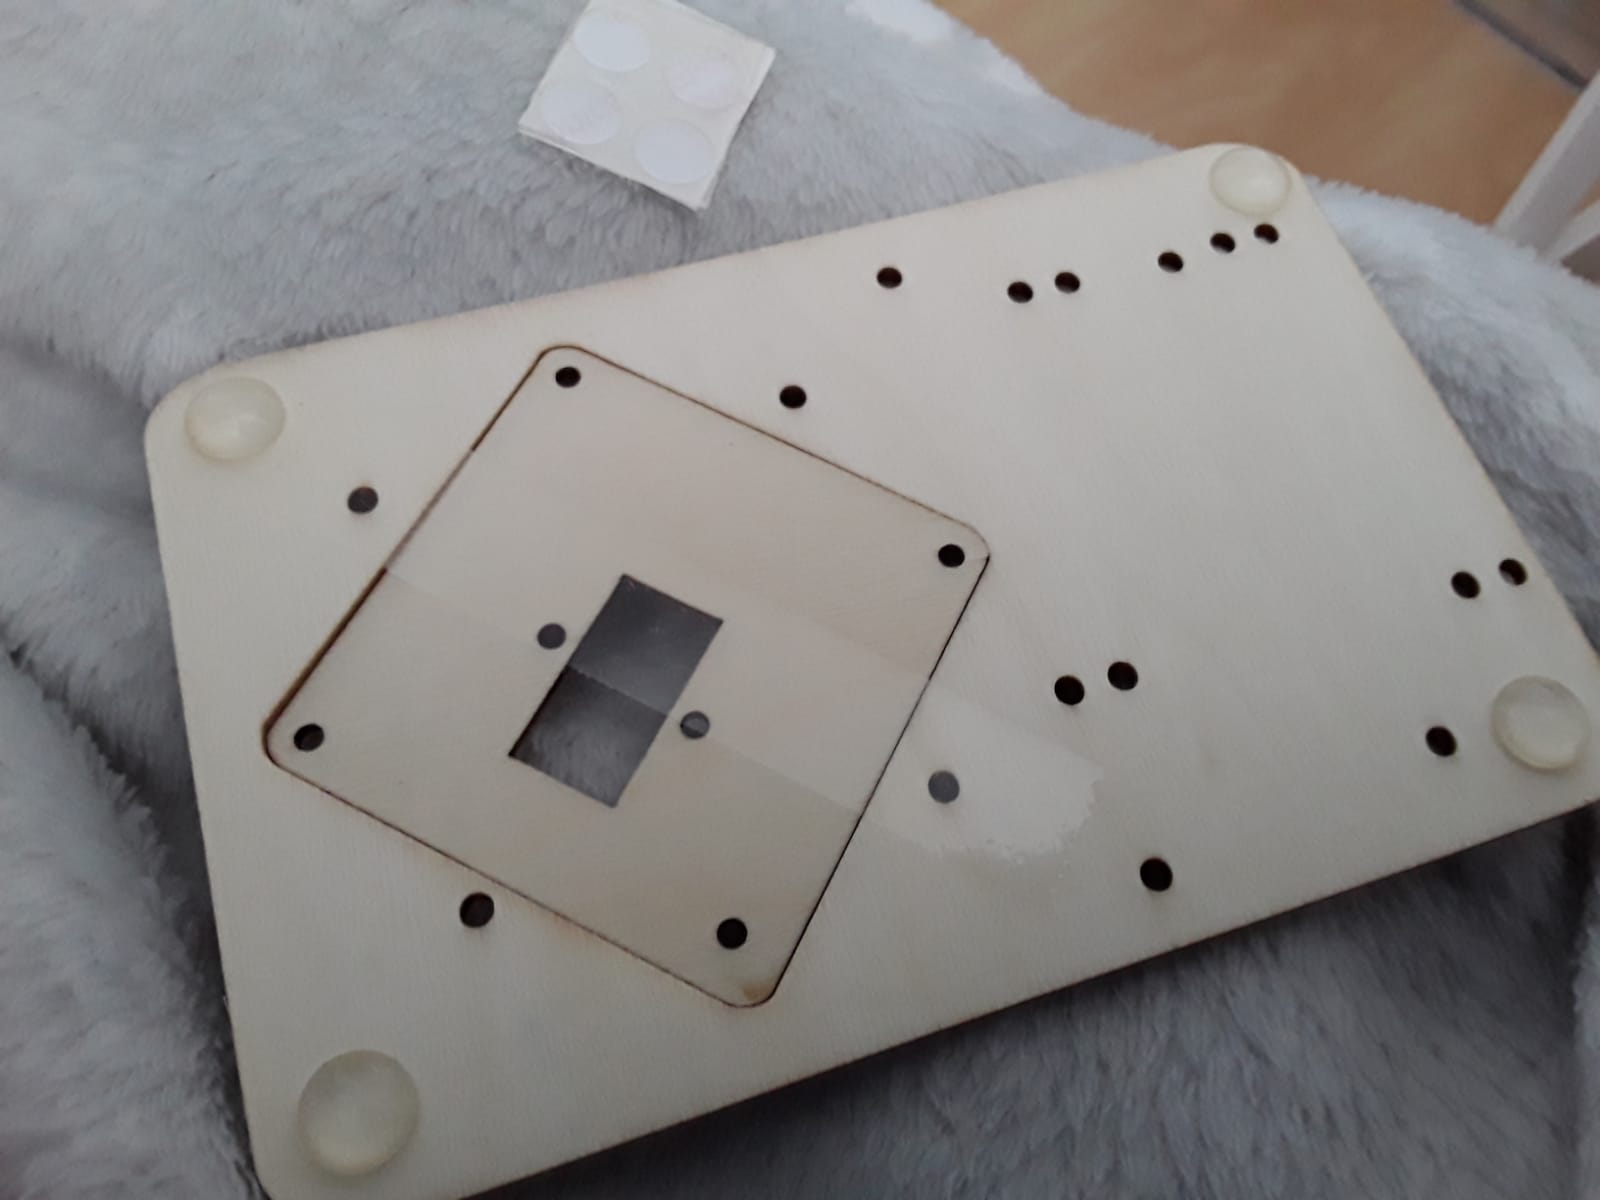
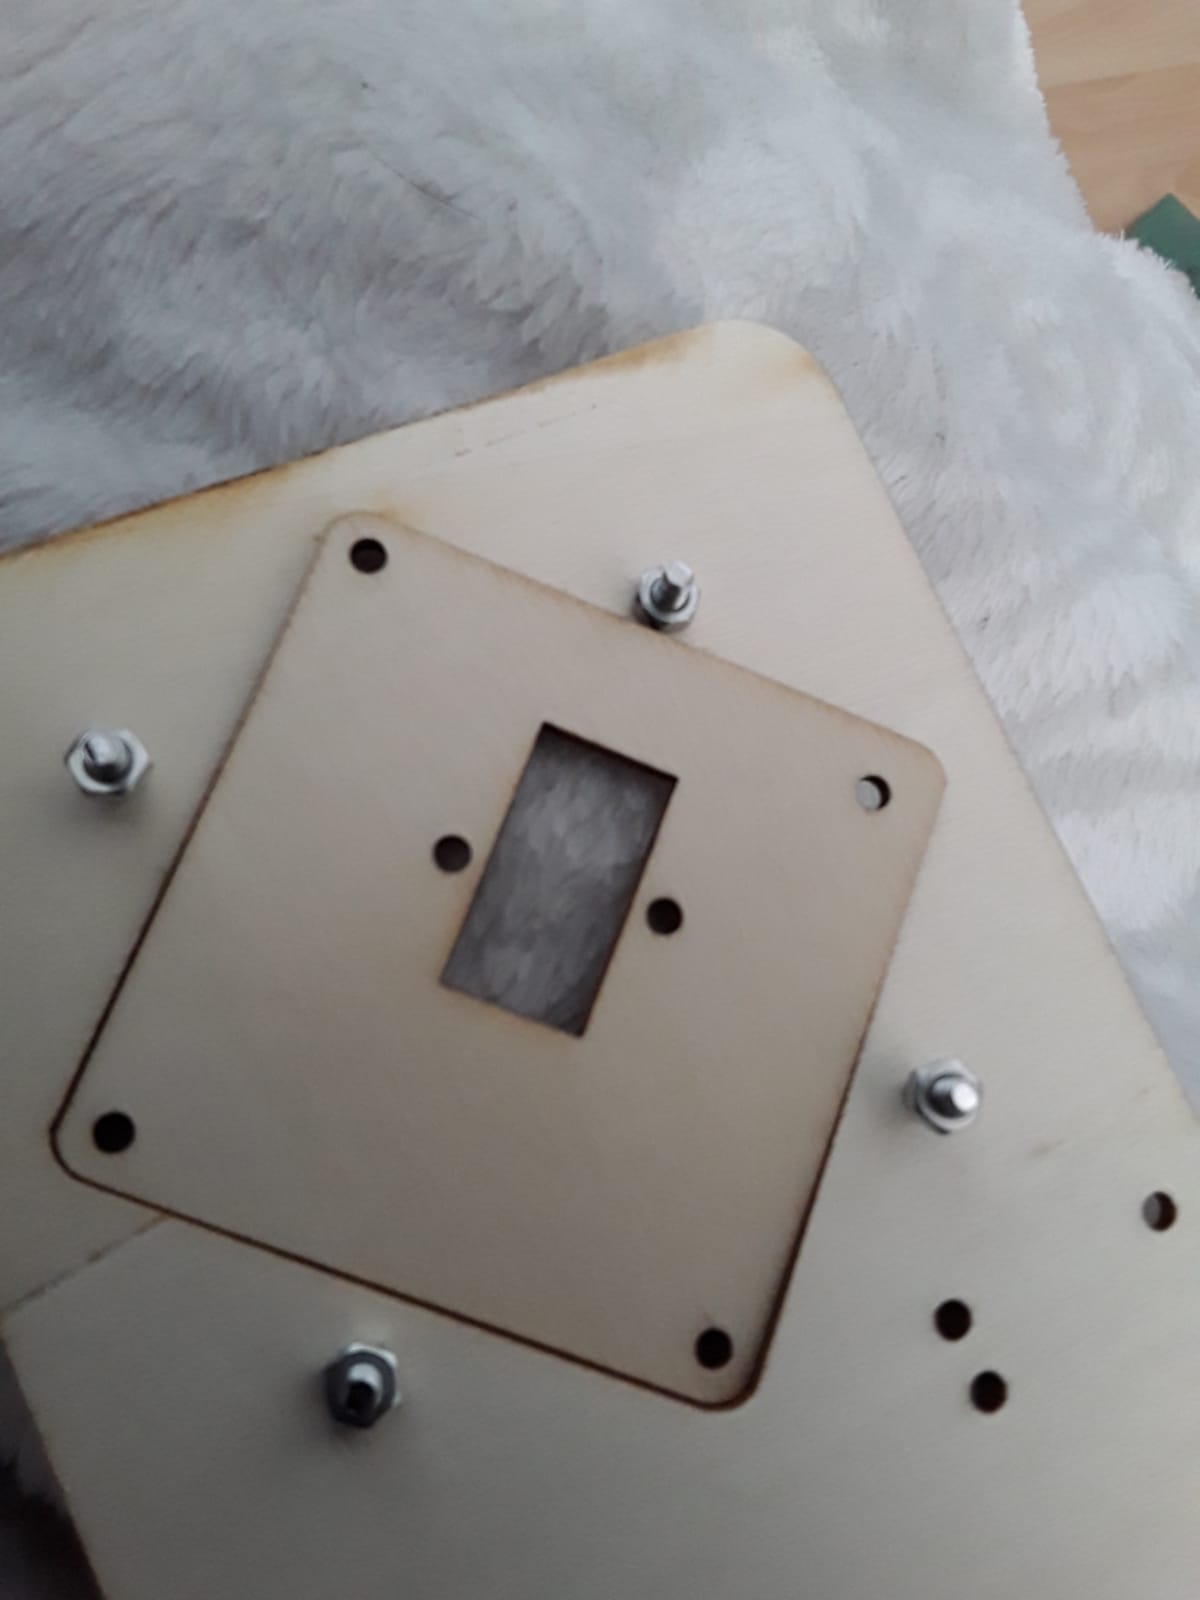
Now find the longest screws and fasten them with four nuts on the wooden part. Make sure you don’t put too much force: wood is fragile and breaks quickly. Check again that they are the longest bolts and not the shorter ones as shown on the picture, otherwise, it won’t fit later.

Step 2.
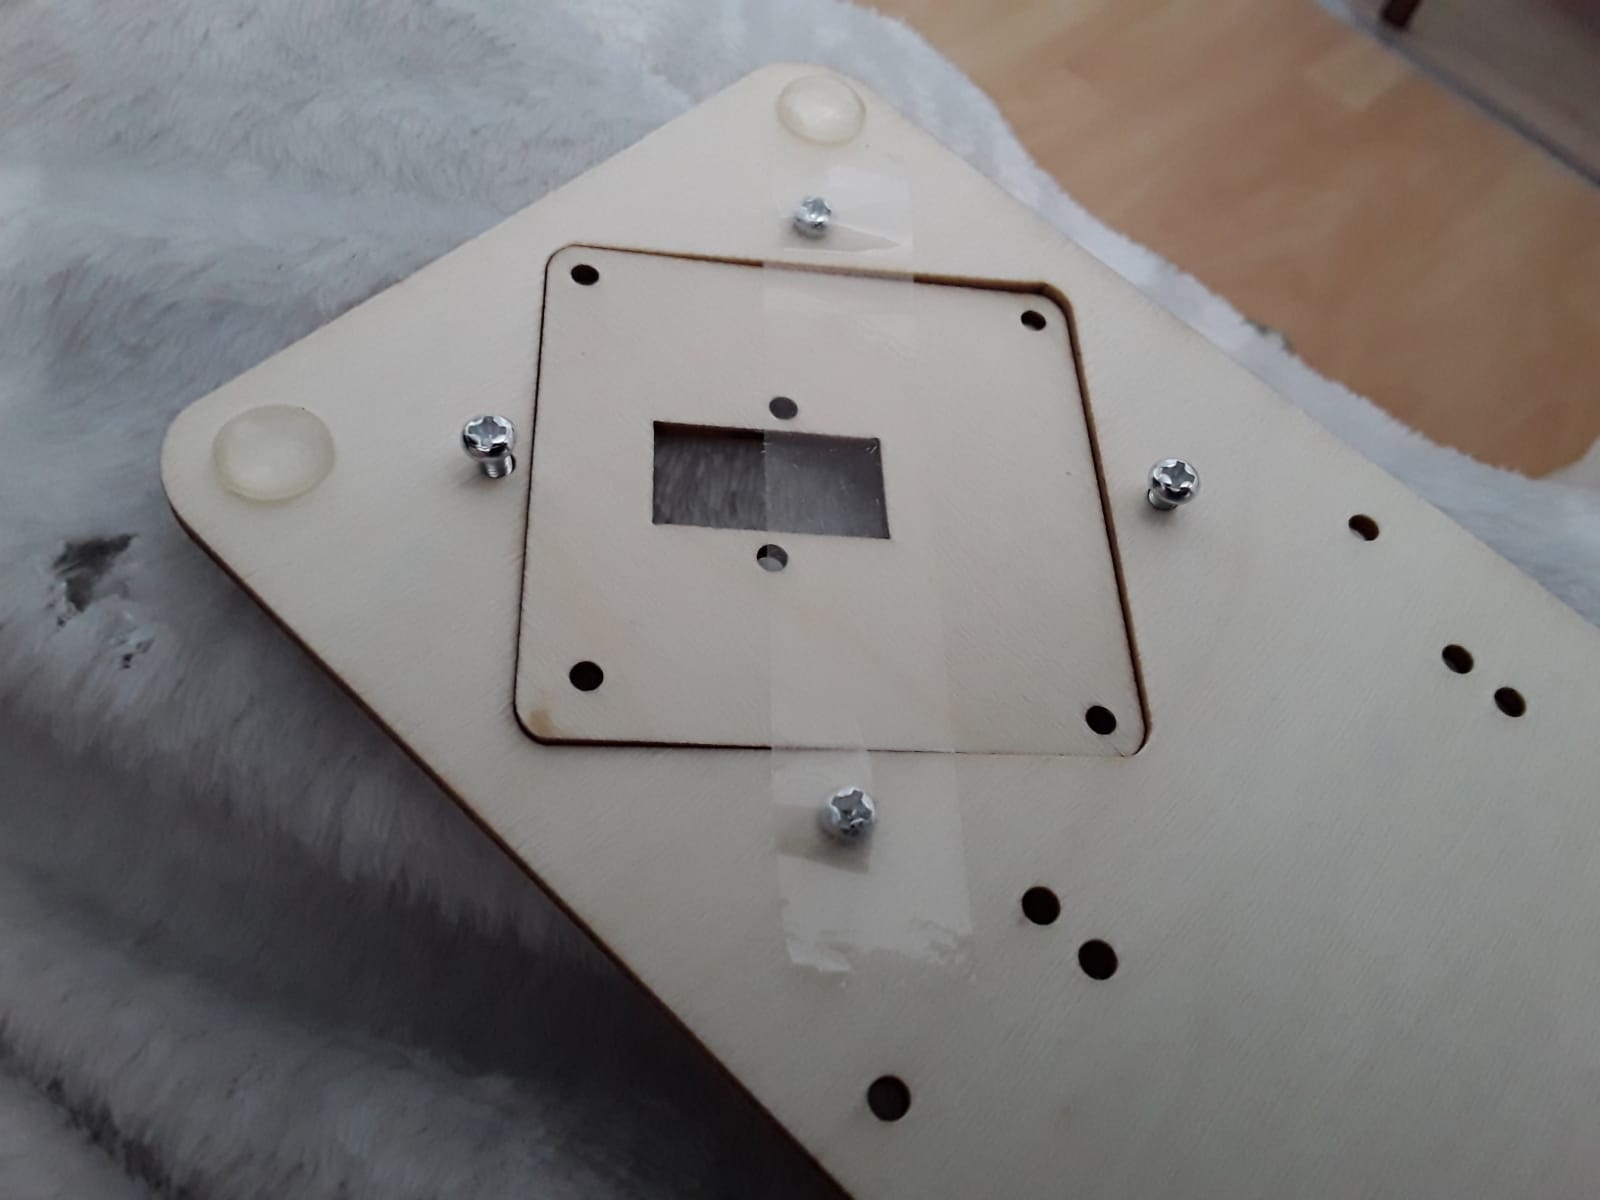
Note you need the smallest shelf. There are three that look very similar so check them carefully. Otherwise, it won’t fit. (I made a mistake here myself)
Place the small board over the servomotor and fasten it to the board with twoo screws.
Stap 3
Now attach the new part you just made to the part of step 1.
Stap 4
Place the little plank over the rotary engine as we did before. Make sure you put the cable in the hole and the wire over the motor. Now fasten the whole thing with screws as we did before.