Deze workshop is geschreven in 2022. De software die je gebruikt is inmiddels veranderd. Je komt er vast wel uit.
Deze workshop gebruikt de Arduino IDE als programmeer omgeving.
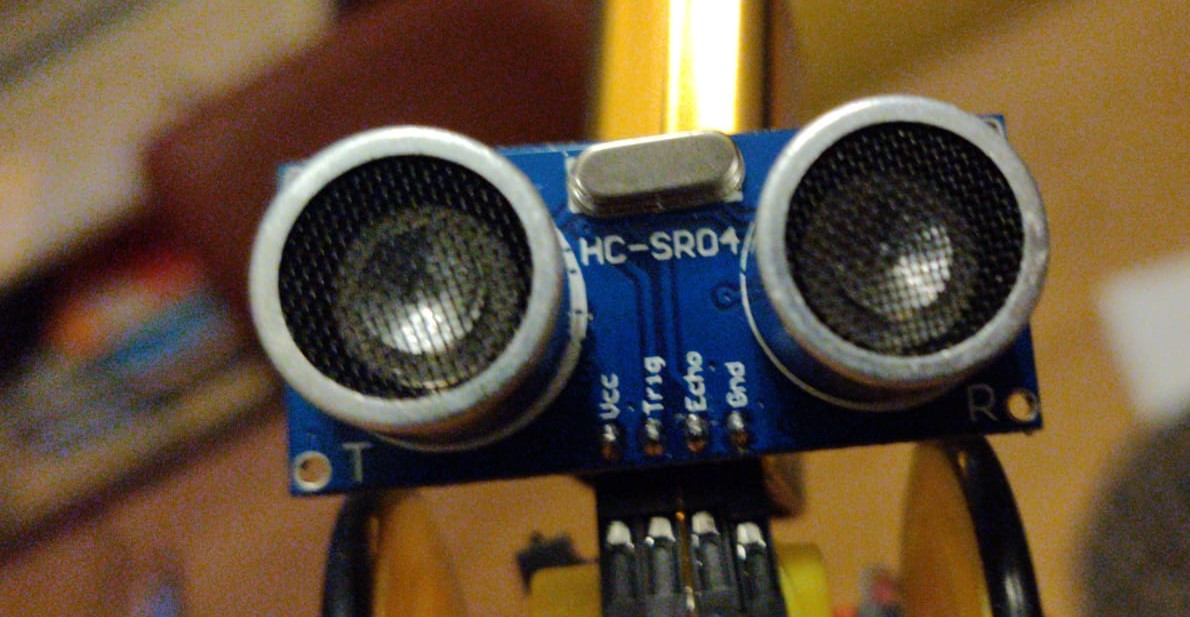
In deze oefening maken we kennis met de afstandsensor HC-SR04. We sluiten deze aan op onze voordelige Arduino Nano. Voordat je met deze oefening begint, gaan we er van uit dat je de Arduino Blink al hebt uitgevoerd. Zodra je hiermee klaar bent, kan je doorgaan met een spannend vervolg project zoals de Arduino Stopauto.
We volgen een stukje van dit voorbeeld: https://github.com/Martinsos/arduino-lib-hc-sr04 – maar lees eerst even verder hoe we dit doen.
Het toevoegen van de library en de voorbeelden toe die we willen gebruiken: In de Arduino IDE kies je in het menu voor Sketch > Include Library > Manage Libraries… en daarna typ je in de zoekbox het woord “Ultrasonic”. Installeer de HCSR04 library van Martin Sosic.
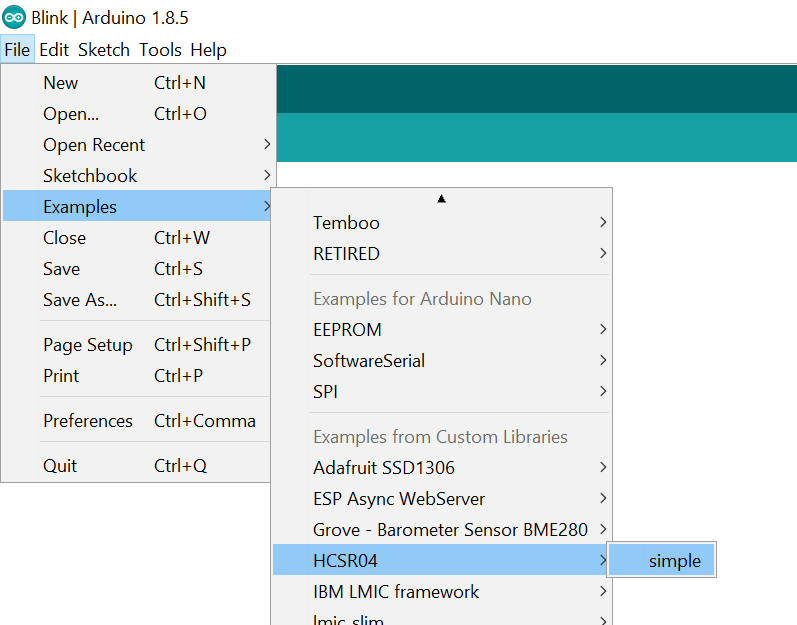
 Daarna kies je in de IDE bij voorbeelden: HCSR04 > simple
Je ziet nu de code van het voorbeeld:
#include <HCSR04.h>

UltraSonicDistanceSensor distanceSensor(13, 12);  // Initialize sensor that uses digital pins 13 and 12.

void setup () {
    Serial.begin(9600);  // We initialize serial connection so that we could print values from sensor.
}

void loop () {
    // Every 500 miliseconds, do a measurement using the sensor and print the distance in centimeters.
    Serial.println(distanceSensor.measureDistanceCm());
    delay(500);
}
We zien dat in het voorbeeld pin 13 en 12 worden gebruikt, en op https://github.com/Martinsos/arduino-lib-hc-sr04 lezen we verder hoe de sensor wordt aangesloten:
- vcc to 5V
- trig to digital pin 13
- echo to digital pin 12
- gnd to gnd
Je ziet in het voorbeeld ook dat er informatie wordt geschreven naar “Serial”, die loopt via de usb kabel naar je computer. In de code zie je dan Serial.print of Serial.println
Je opent de Arduino IDE, sluit de Arduino Nano aan, en kijk of je verbinding werkt door een blink naar de arduino te sturen.
Sluit de sensor aan, en stuur het voorbeeldprogramma naar je Arduino Nano.
Rechts boven in je Arduino IDE zie je een vierkante knop met een vergrootglas voor de Serial monitor. Open de serial monitor. Zie je dat er verschillende afstanden worden getoond? Is er een verschillende verwerkingssnelheid voor de verschillende afstanden?
Denk even na wat voor toepassing jij zou willen bouwen met deze sensor,