This workshop creates a link with inspiration for technology (link) and helps the student experience what soldering is (link). The workshop provides inspiration in a very gentle approach (link)
Your first electronics soldering exercise is actually very simple. In a few simple steps we explain exactly how you get started. You can best work together to discover how everything works. The first steps with the soldering iron are explained in detail below.
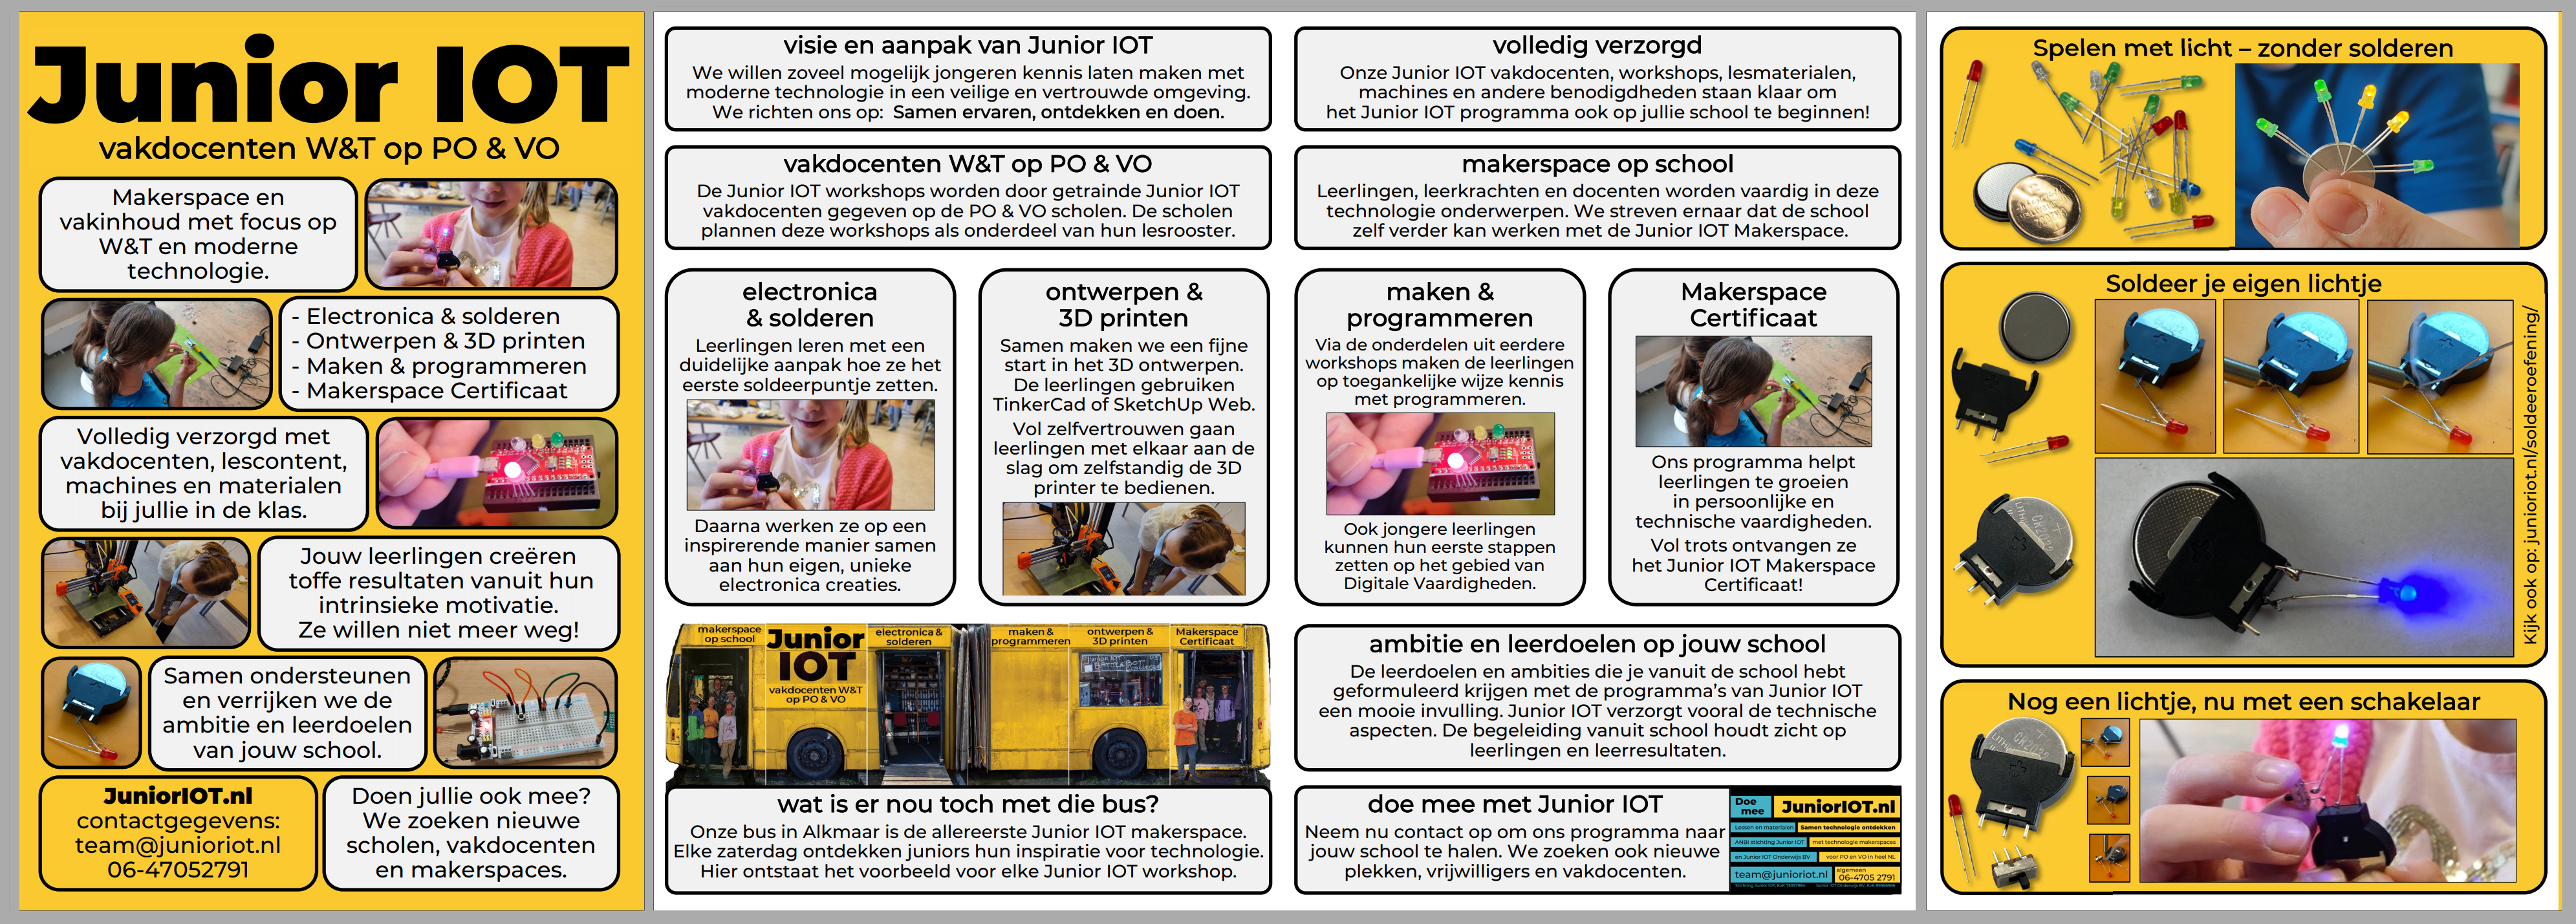
The same introduction is available on the back page of our short brochure
–> the EU version of this workshop is available at: https://learn.chipsacademy.eu/
Our materials for in the classroom: link
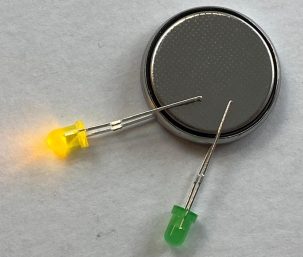
Make light without soldering
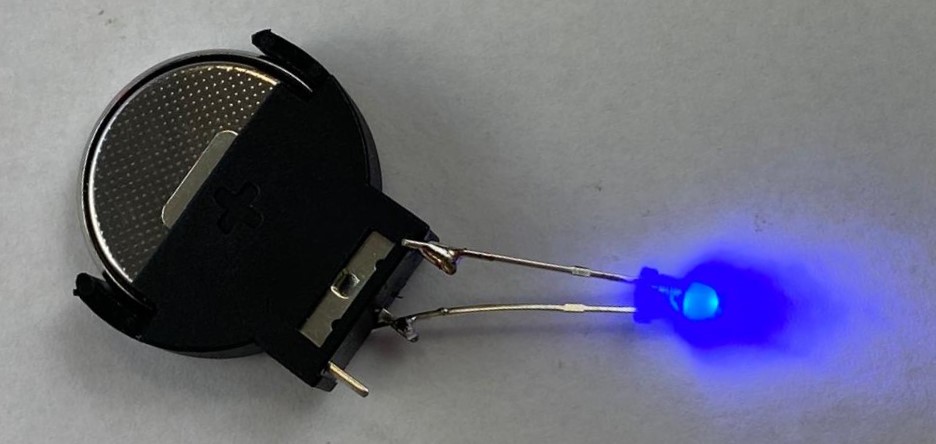
Discover by yourself how to make light using a battery.
Just give it a try. You can have a look at someone sitting next to you.
(you can try together for a moment)
(try a little more)
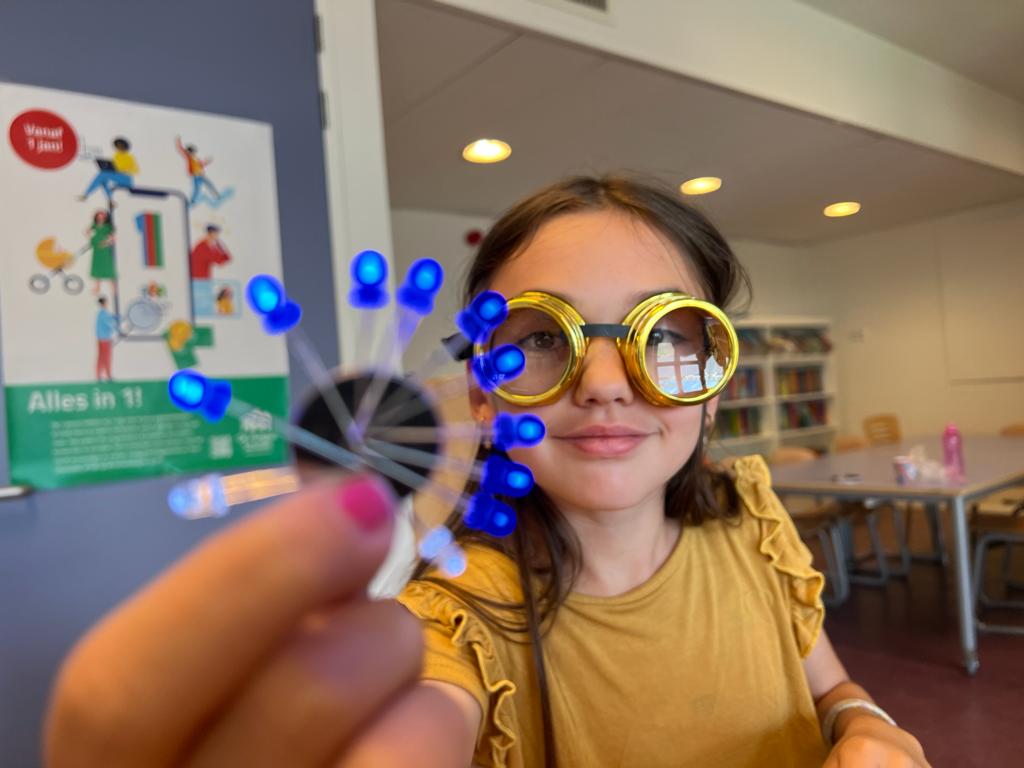
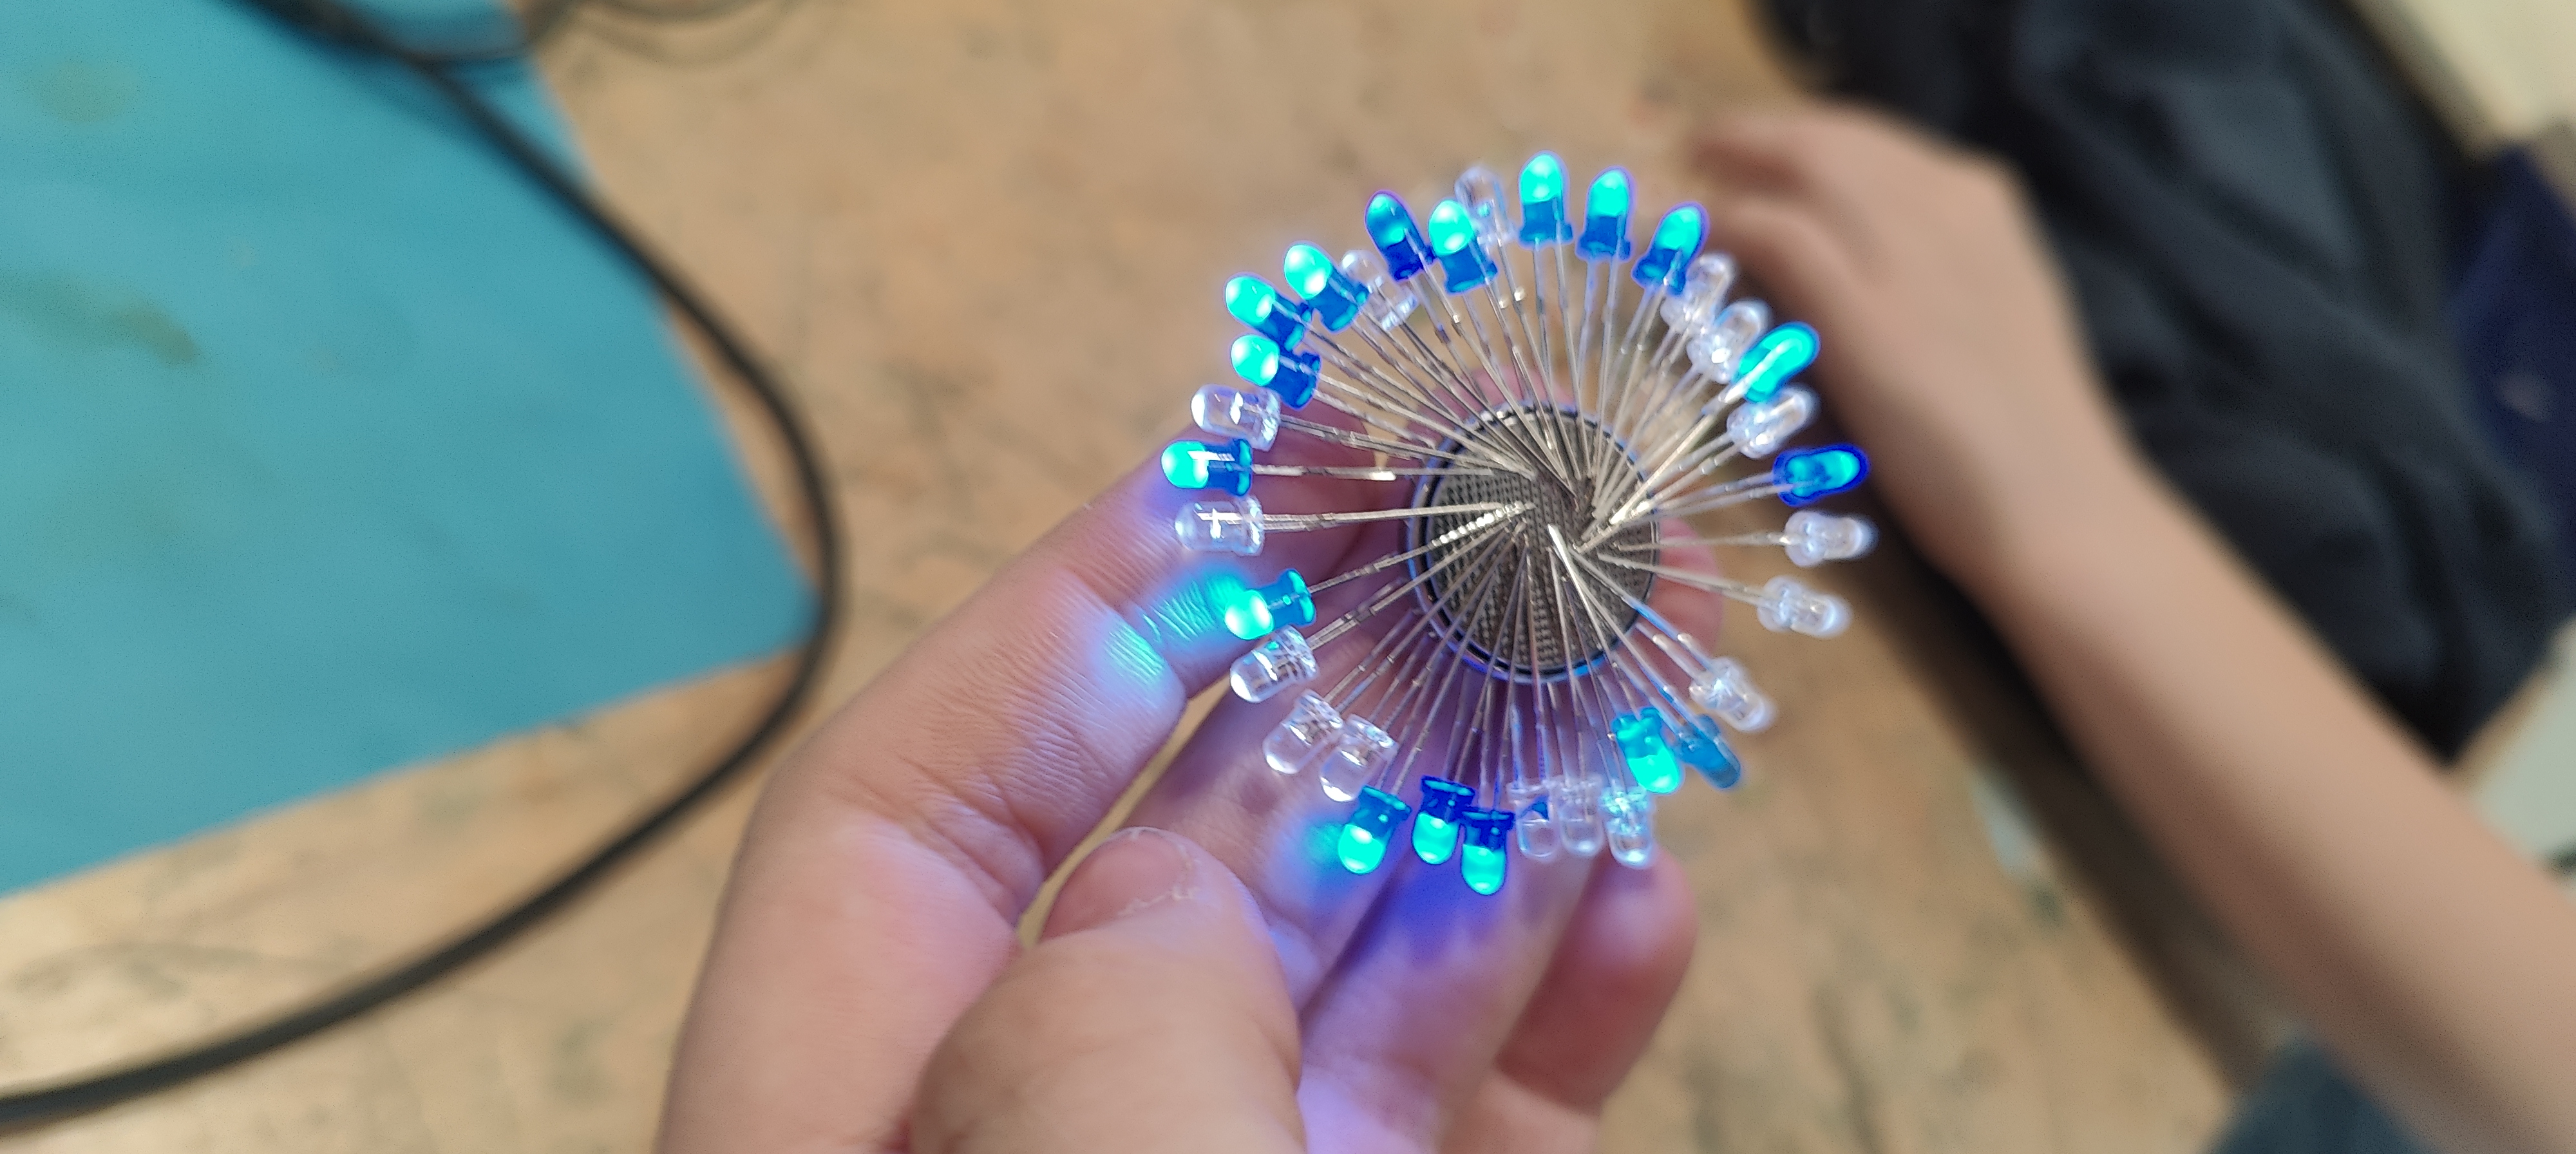
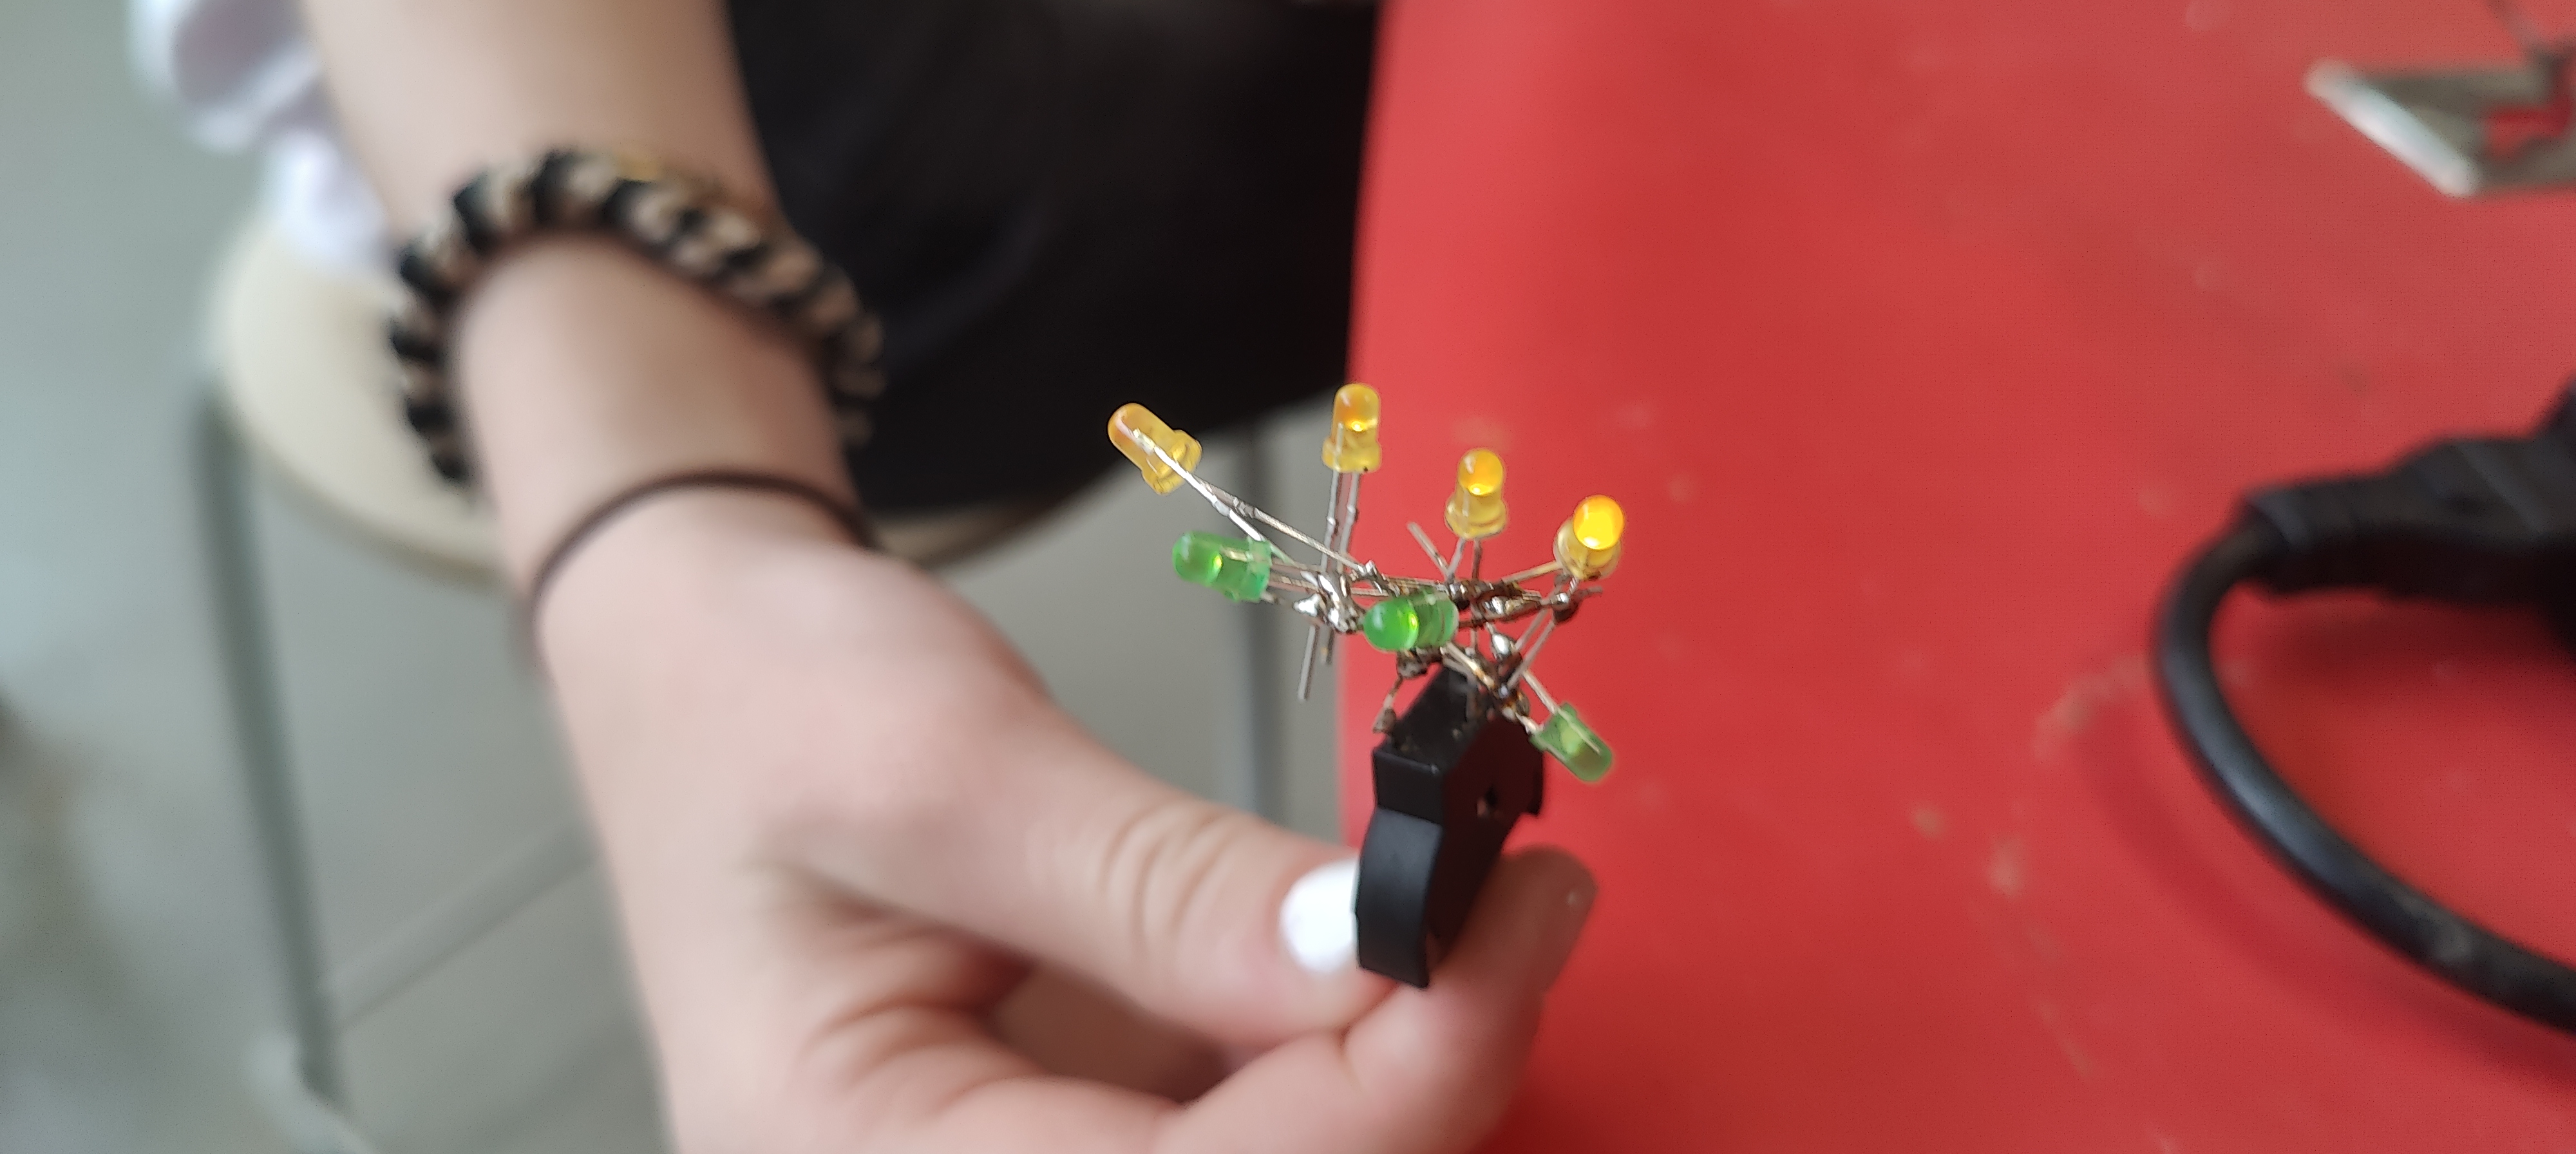
You can add more LEDs.
If you use more colored LEDs, you may find that red wins over the blue LED. The red LED draws energy from the battery more easily, leaving less for the blue LED. What may happen if you remove the red LED?
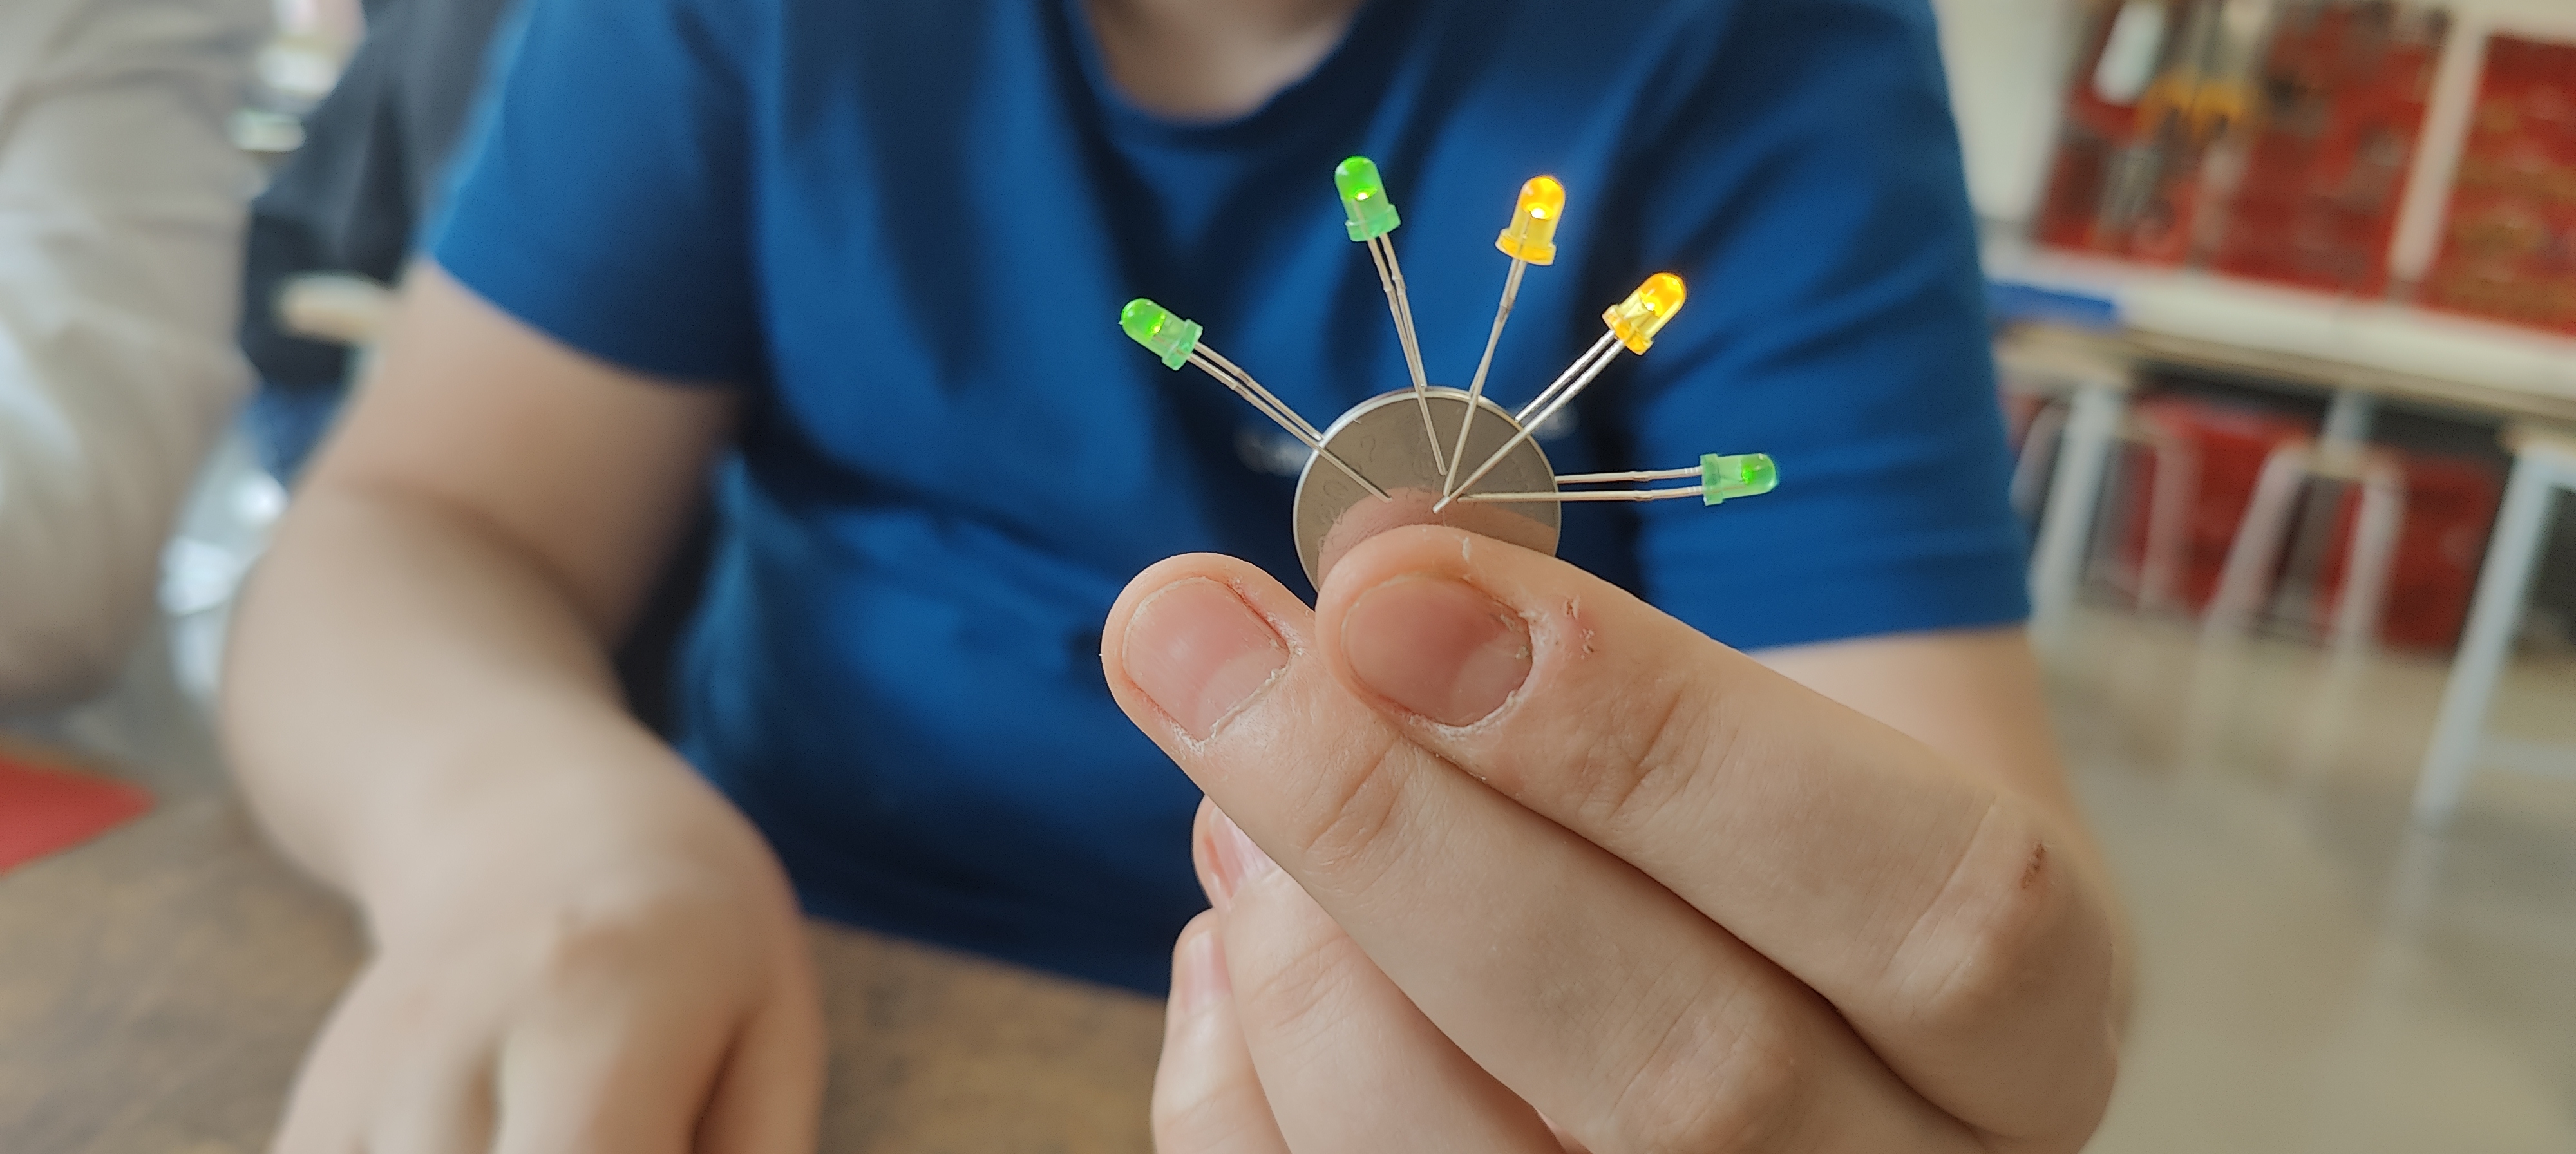
The ‘as much as you can battle’ on the battery.
(just try a bit more)
(and add some more)
Tip: Exercises with copper tape: https://junioriot.nl/pet/
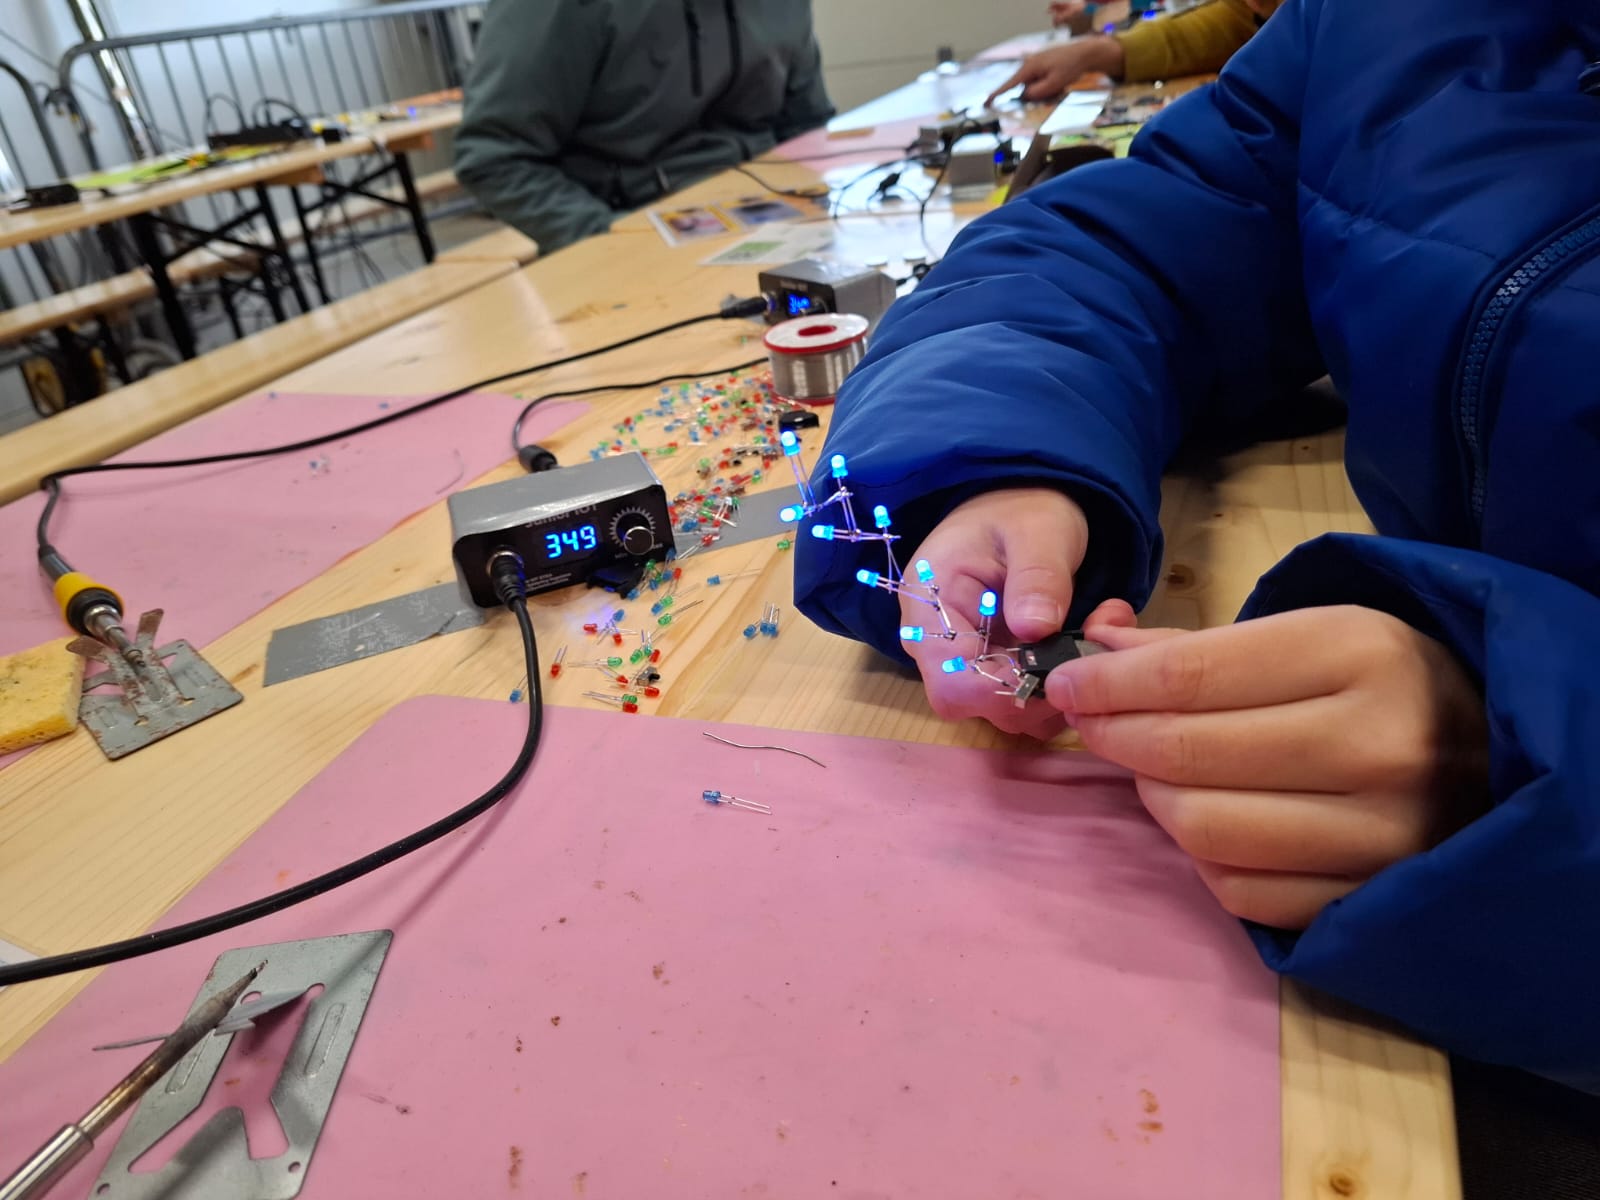
A workspace with a nice soldering iron
Which soldering iron? (link)
In the workshops, we use a safe workspace with a temperature-controlled soldering iron.
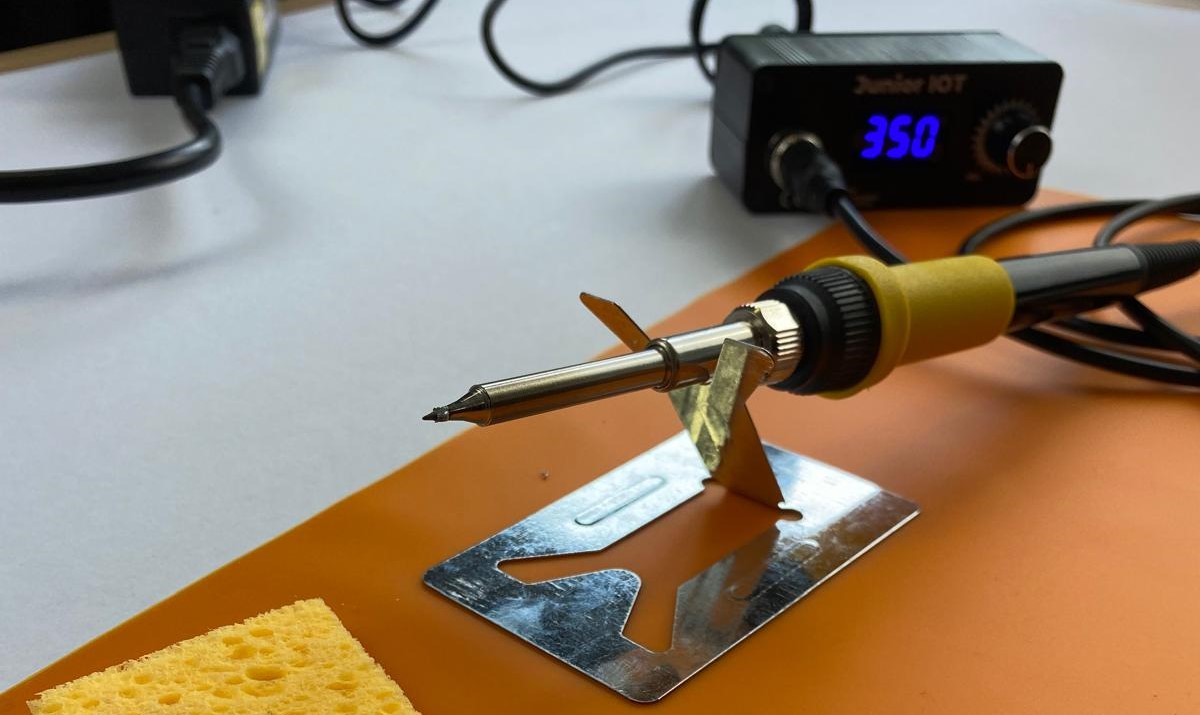
Safety and the workspace
This photo serves as a reminder for an important explanation regarding safety. As this is important, this explanation is mandatory for every workshop.
Extra tips (link)
- Hold the soldering iron like a pen. This helps you to work safer and more precise.
- When not in use, the soldering iron rests on the support. Check this for each other. A soldering iron that rolls away can easily make a hole in your tracksuit, which is not what we desire.
- The soldering iron always stays above the work mat. Elbows and sleeping students will stay off the mat. Keep an eye on each other.
- Set the soldering iron to 350 degrees. It can go much hotter, but then the solder can splatter. That is dangerous and is not good for the students. It can also be set colder, but then not everyone solders as smoothly. That is why we choose 350 degrees.
- Absolutely do not make solder droplets. Large clouds of smoke coming from the melting tin are bad for the students. The solder droplets are just as hot as the soldering iron, which can injure the students. Moreover, it creates too much mess. It is therefore strictly forbidden to make solder droplets. Best is to remind each other.
Before we start soldering – discover how the battery holder works
Extra explanation: link
Now, everyone take a battery holder and some LEDs. Students help each other to ensure that everyone gets the parts they need. Try using the pins of the battery holder to make light.
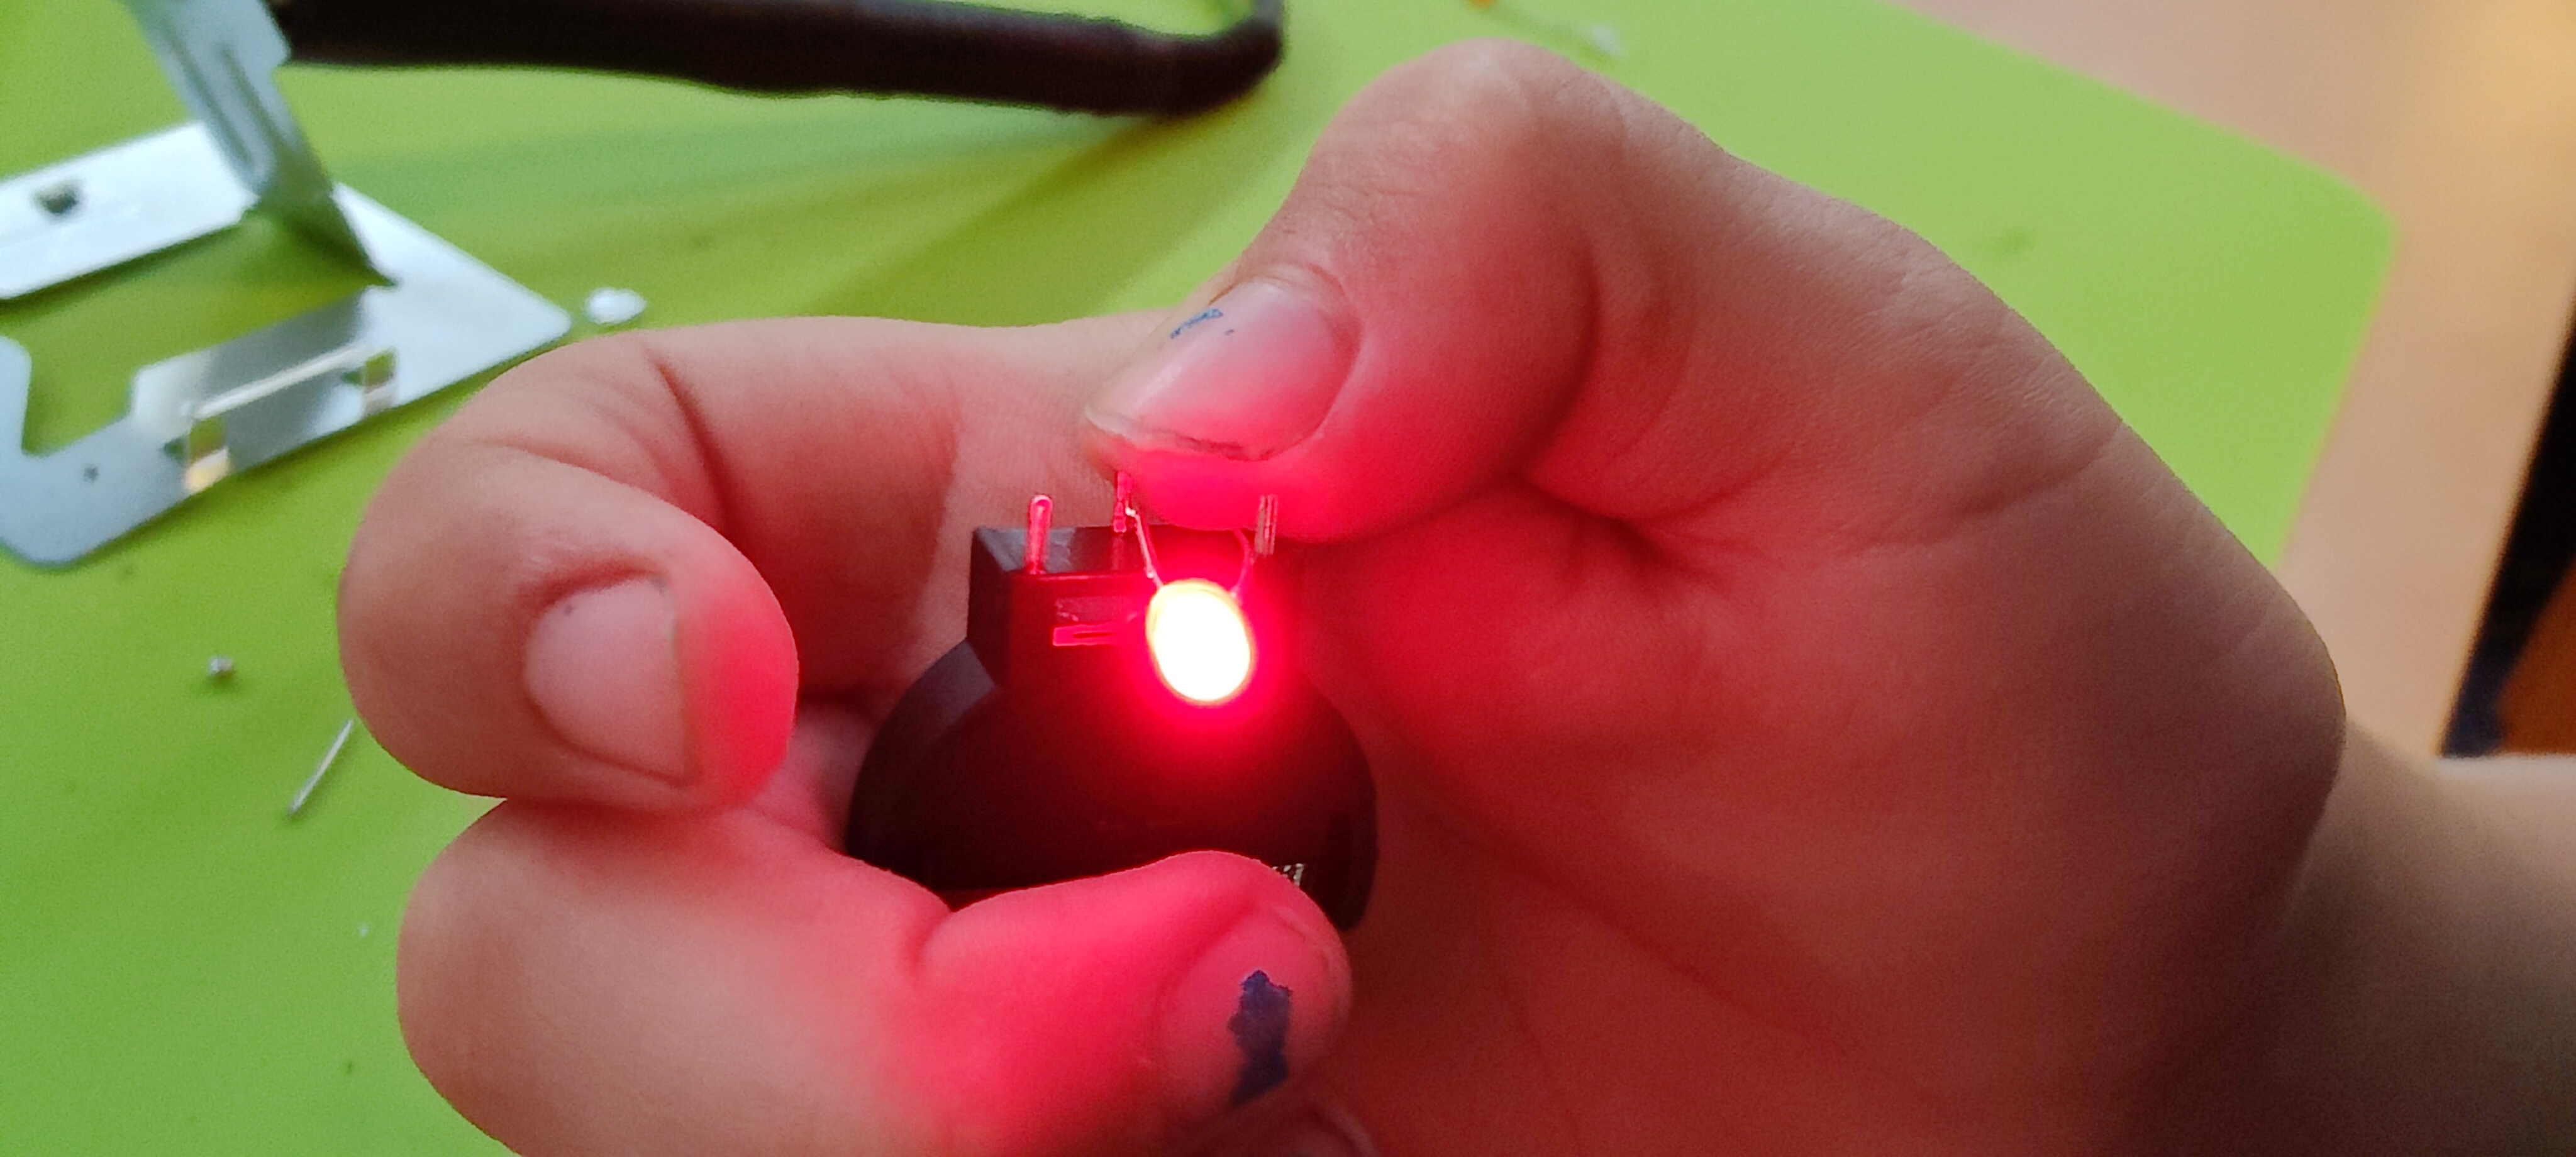
Sometimes you have to flip the LED to make light. By experimenting, you can discover to use the middle pin and a side pin to make light.
If an extra safety instructions is desired: link
Making light – soldering!
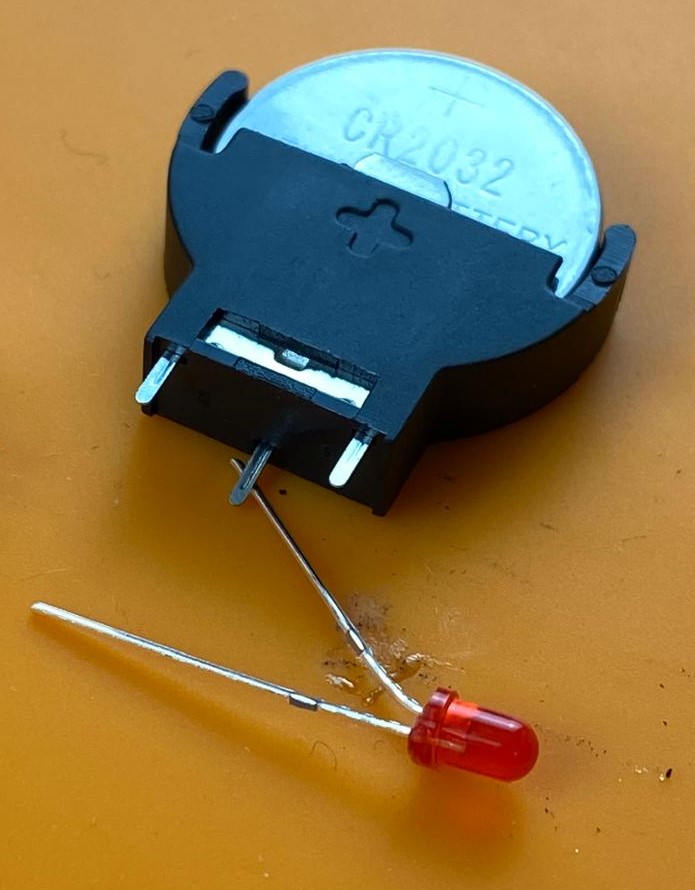
We always do the soldering activity on the work mat. While soldering, we just leave the components on the work mat. We usually place the battery holder so that one of the legs rests on one of the LED’s legs. This keeps it stable while you solder the first contact. The comic strip below explains it.
- Place the LED on your work mat. Place the battery holder with the middle leg on top of the LED. No need to touch them while soldering.
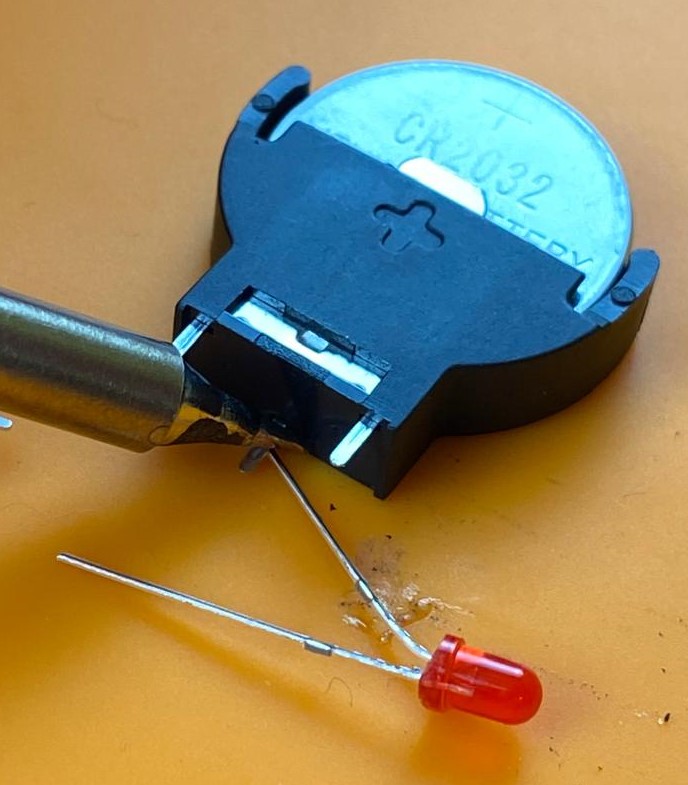
- Heat the spot where the parts touch with the soldering iron.
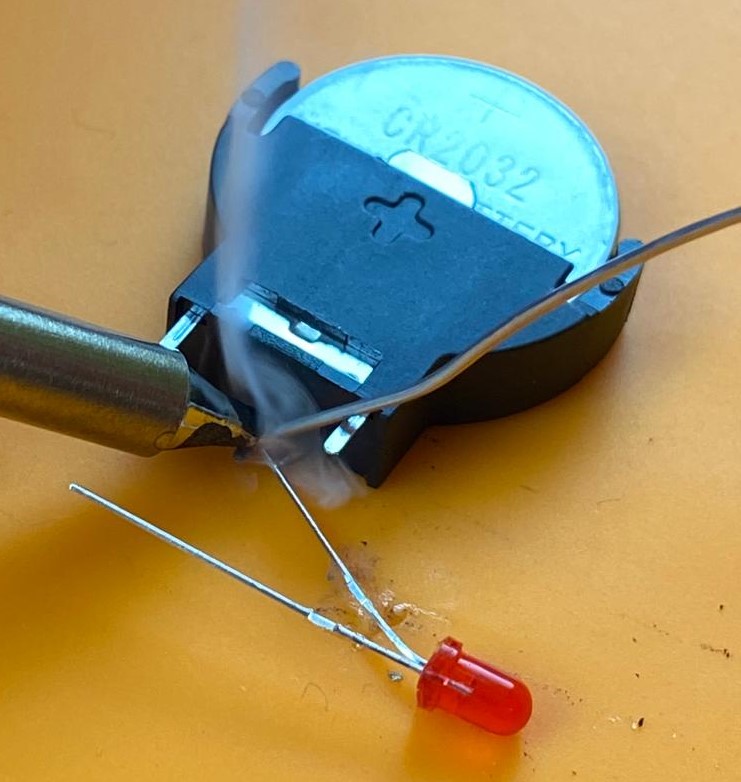
- While the soldering iron remains there, add a little solder. You will see a small puff of smoke. A small droplet will appear on the workpiece, joining the parts together.
- Remove the solder and the soldering iron and let cool for three seconds.
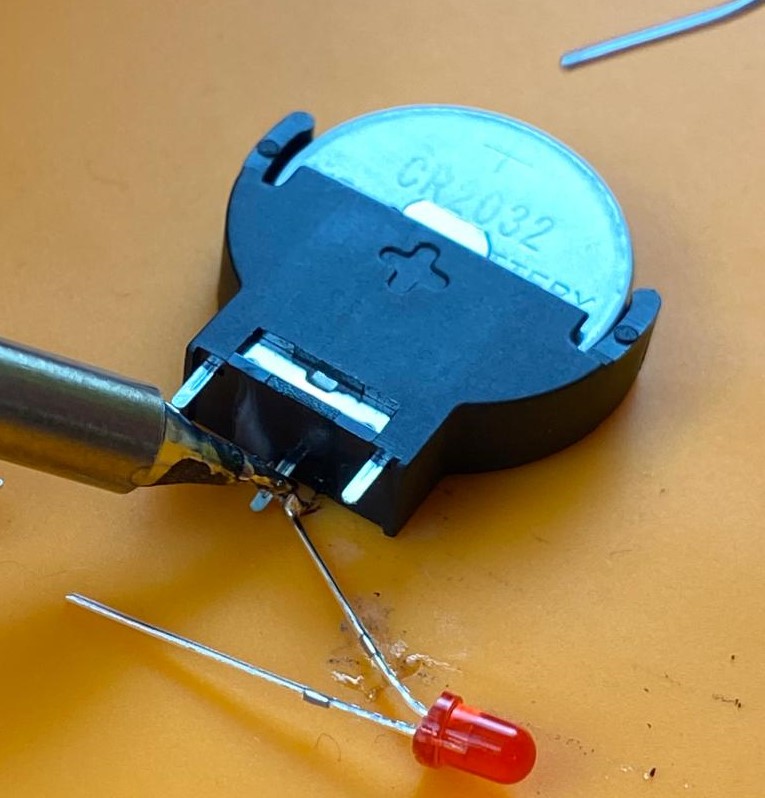
Now that the first leg of the LED is connected, bend the second leg of the LED against the side leg of the battery holder. Solder this in the same way. Does your LED light up? You can try to flip the battery.
Your little machine works as an electrical circuit: link
How can you turn off the light? By taking out the battery! Unsoldering something is done by shortly touching the connection with the soldering iron.
If you have time to spare: the As Much as You Can battle
What else can I do next?
Once you are done, you can continue with the light with a switch: https://junioriot.nl/lichtje-met-schakelaar/